Introducing CockroachDB to Apache Hop (Incubating)
In this post we’ll find out how we can start development on a ETL pipeline whilst working with CockroachDB. CRDB the distributed SQL database is not a stranger to a wide variety of 3rd party tools, however there is one tool that enables developers to design, run and debug workflows that everyone can easily use that we have missed. Apache Hop is a visual development tool that “aims to facilitate all aspects of data and metadata orchestration” written in Java. This is the first in my series on CockroachDB paired with Apache Hop.
Prerequisites:
- CockroachDB (Pick one)
- Locally install CockroachDB on mac/windows/linux
- brew install cockroachdb/tap/cockroach
- Start a free CockroachCloud cluster
- Java 8 - See apache hop for details.
Objective:
- Read/write to CockroachDB tables with Apache Hop
TLDR for experienced Hop developers
- CockroachDB is postgres wire compliant, therefore you can setup Postgres as the connection type.
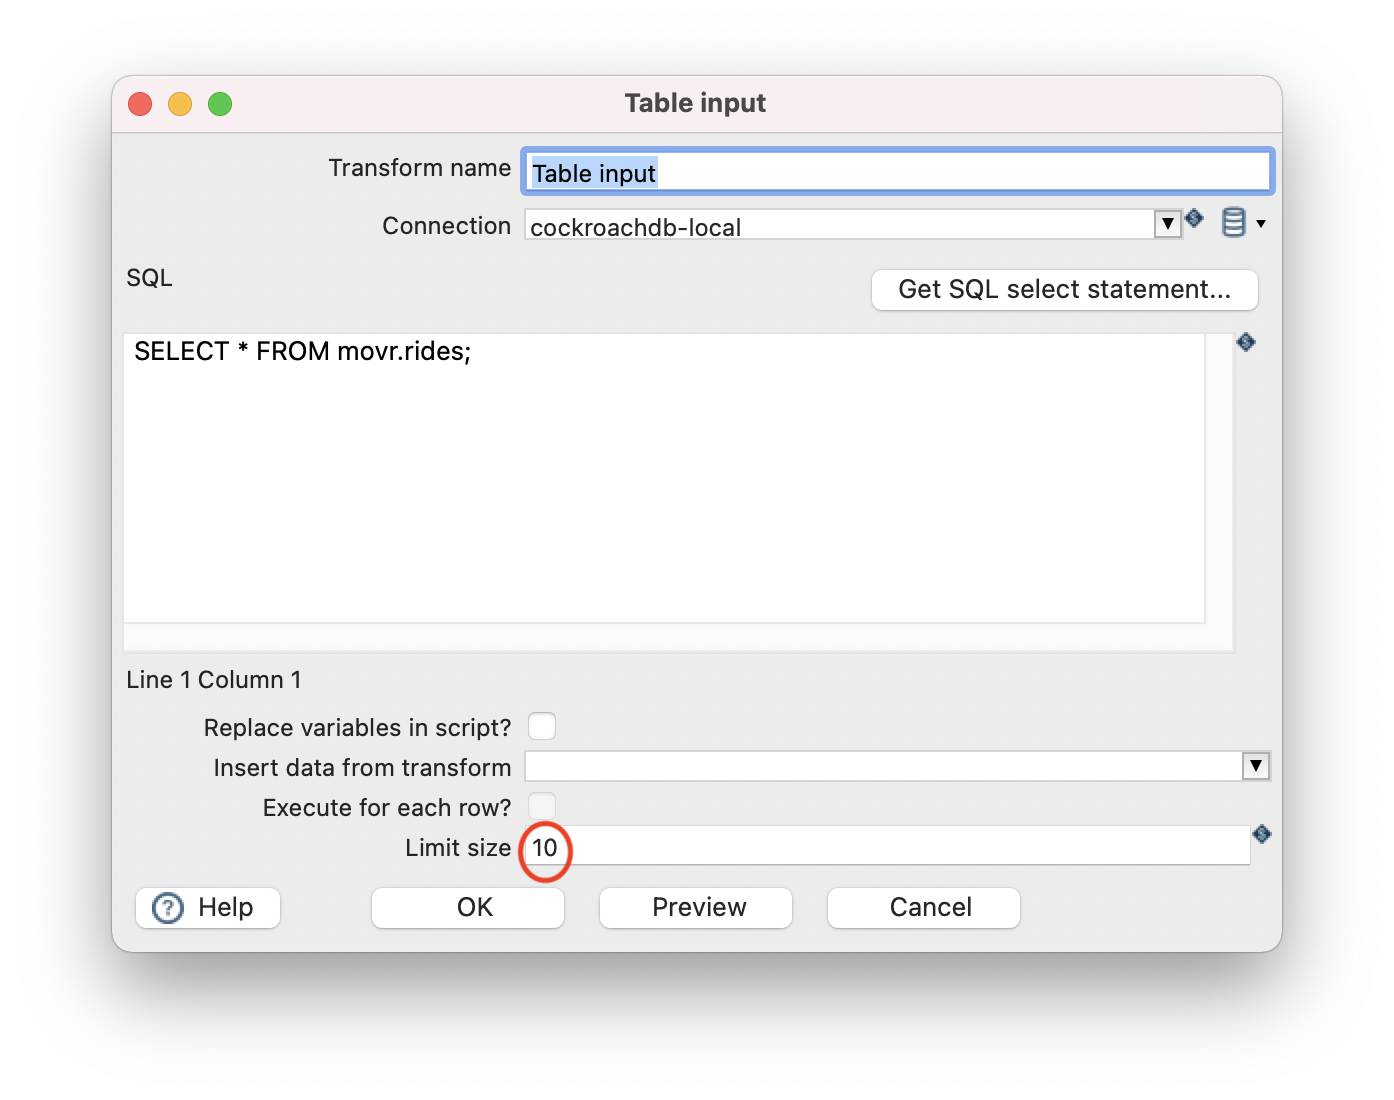
- Hop tries to use multiple active portals and CRDB doesn’t support this. Therefore avoid limit size in the table input step.
Tutorial:
- Lets begin by retrieving apache-hop (incubating)
# First we need to retrieve apache hop and start the gui. curl -O https://dlcdn.apache.org/incubator/hop/0.99/apache-hop-client-0.99-incubating.zip # Extract tar -xvzf apache-hop-client-0.99-incubating.zip cd hop # Start the hop developer user interface sh hop-gui.sh - You will be presented with a blank screen.
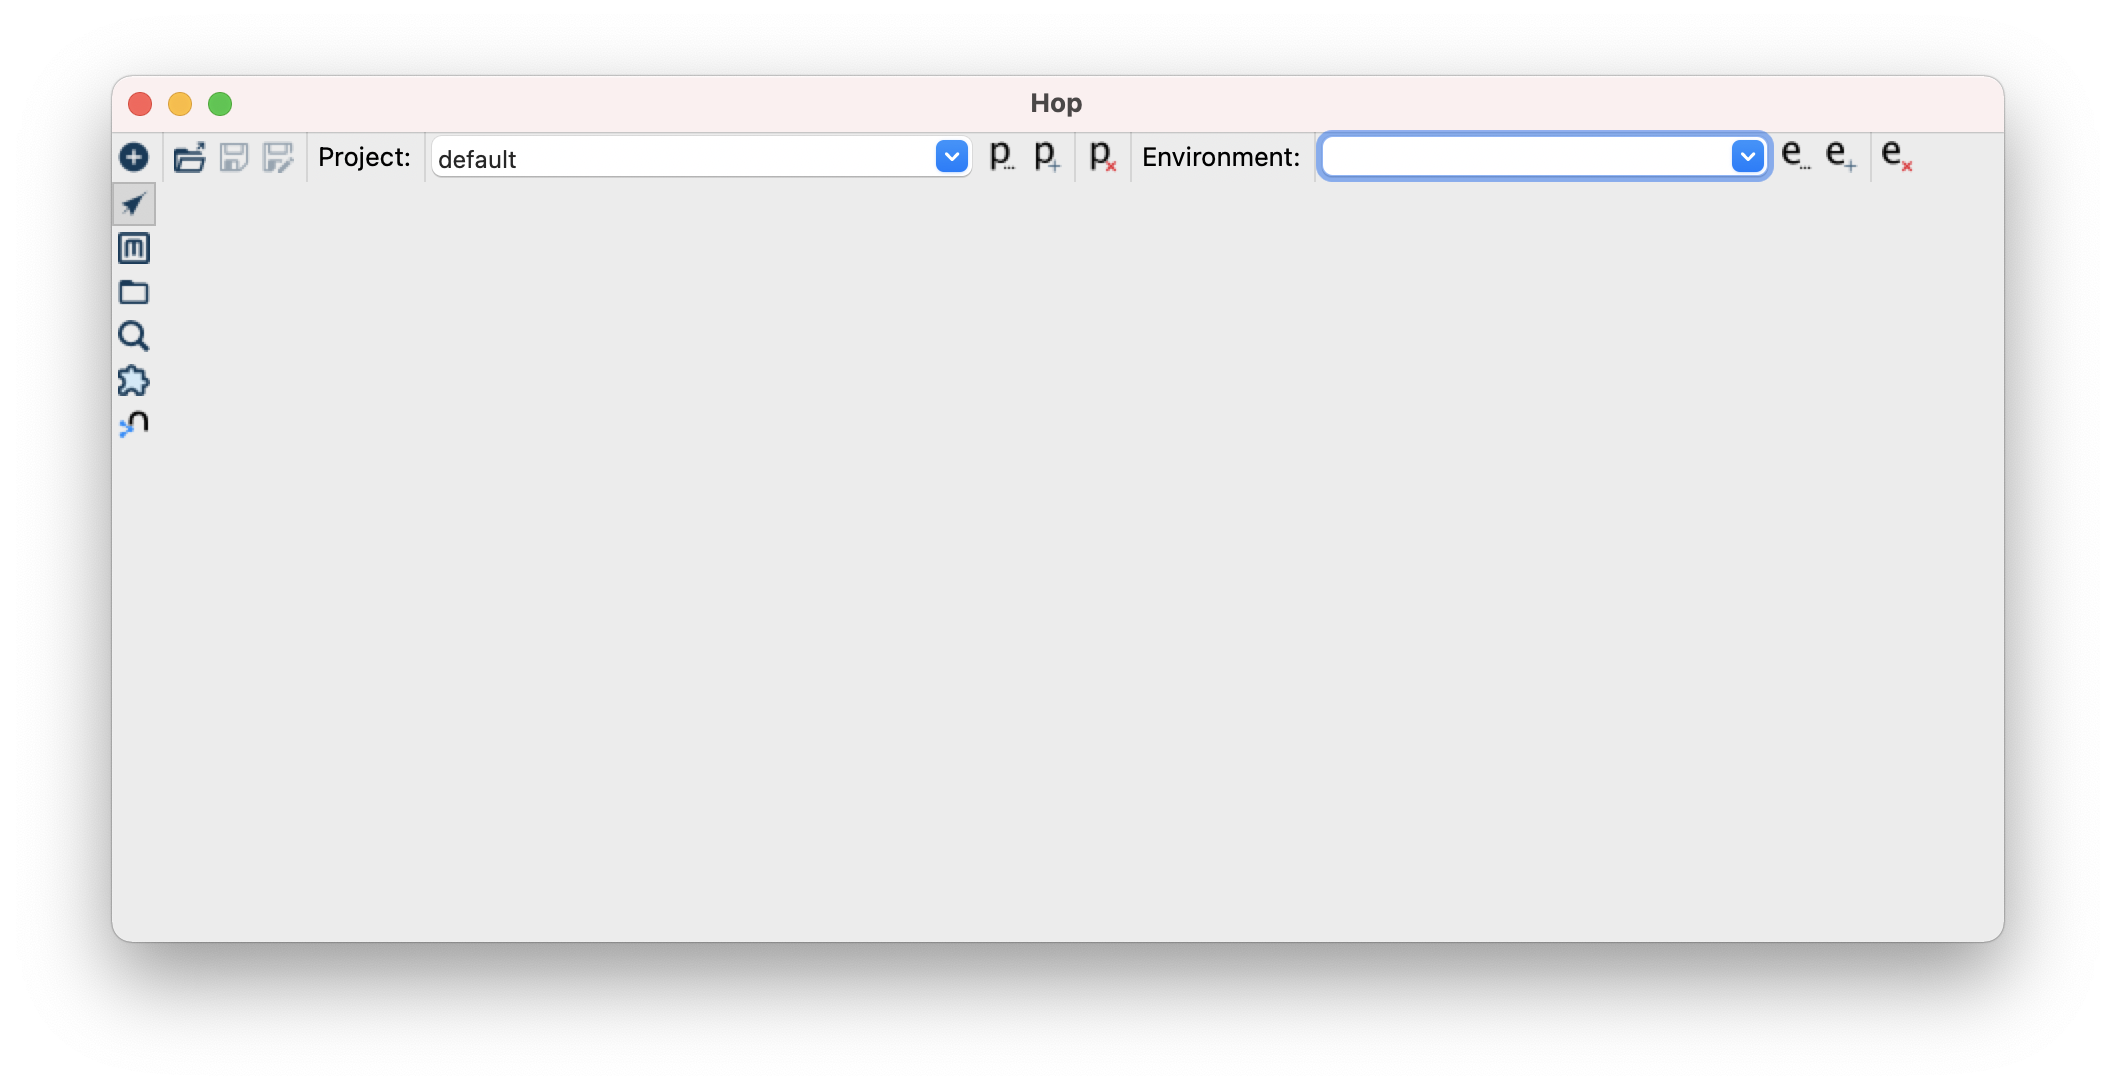
- Lets setup our connection to CockroachDB.
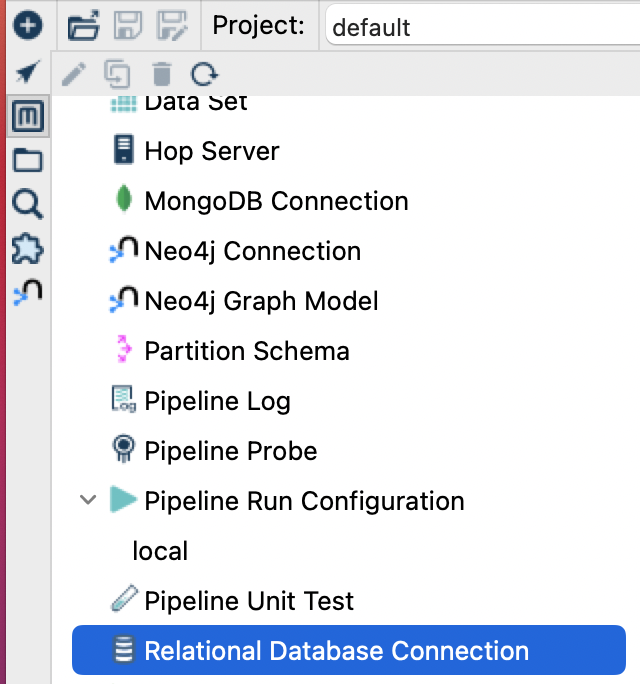
First Click the metadata symbol, this will display the metadata pane :

- To create a new database connection, Double click “Relational Database Connection”.
- Give the connection a name, add the connection details and remember to click test to verify the connection! Select PostgreSQL as the connection type. CockroachDB is postgres wire compliant, click here to find out more.
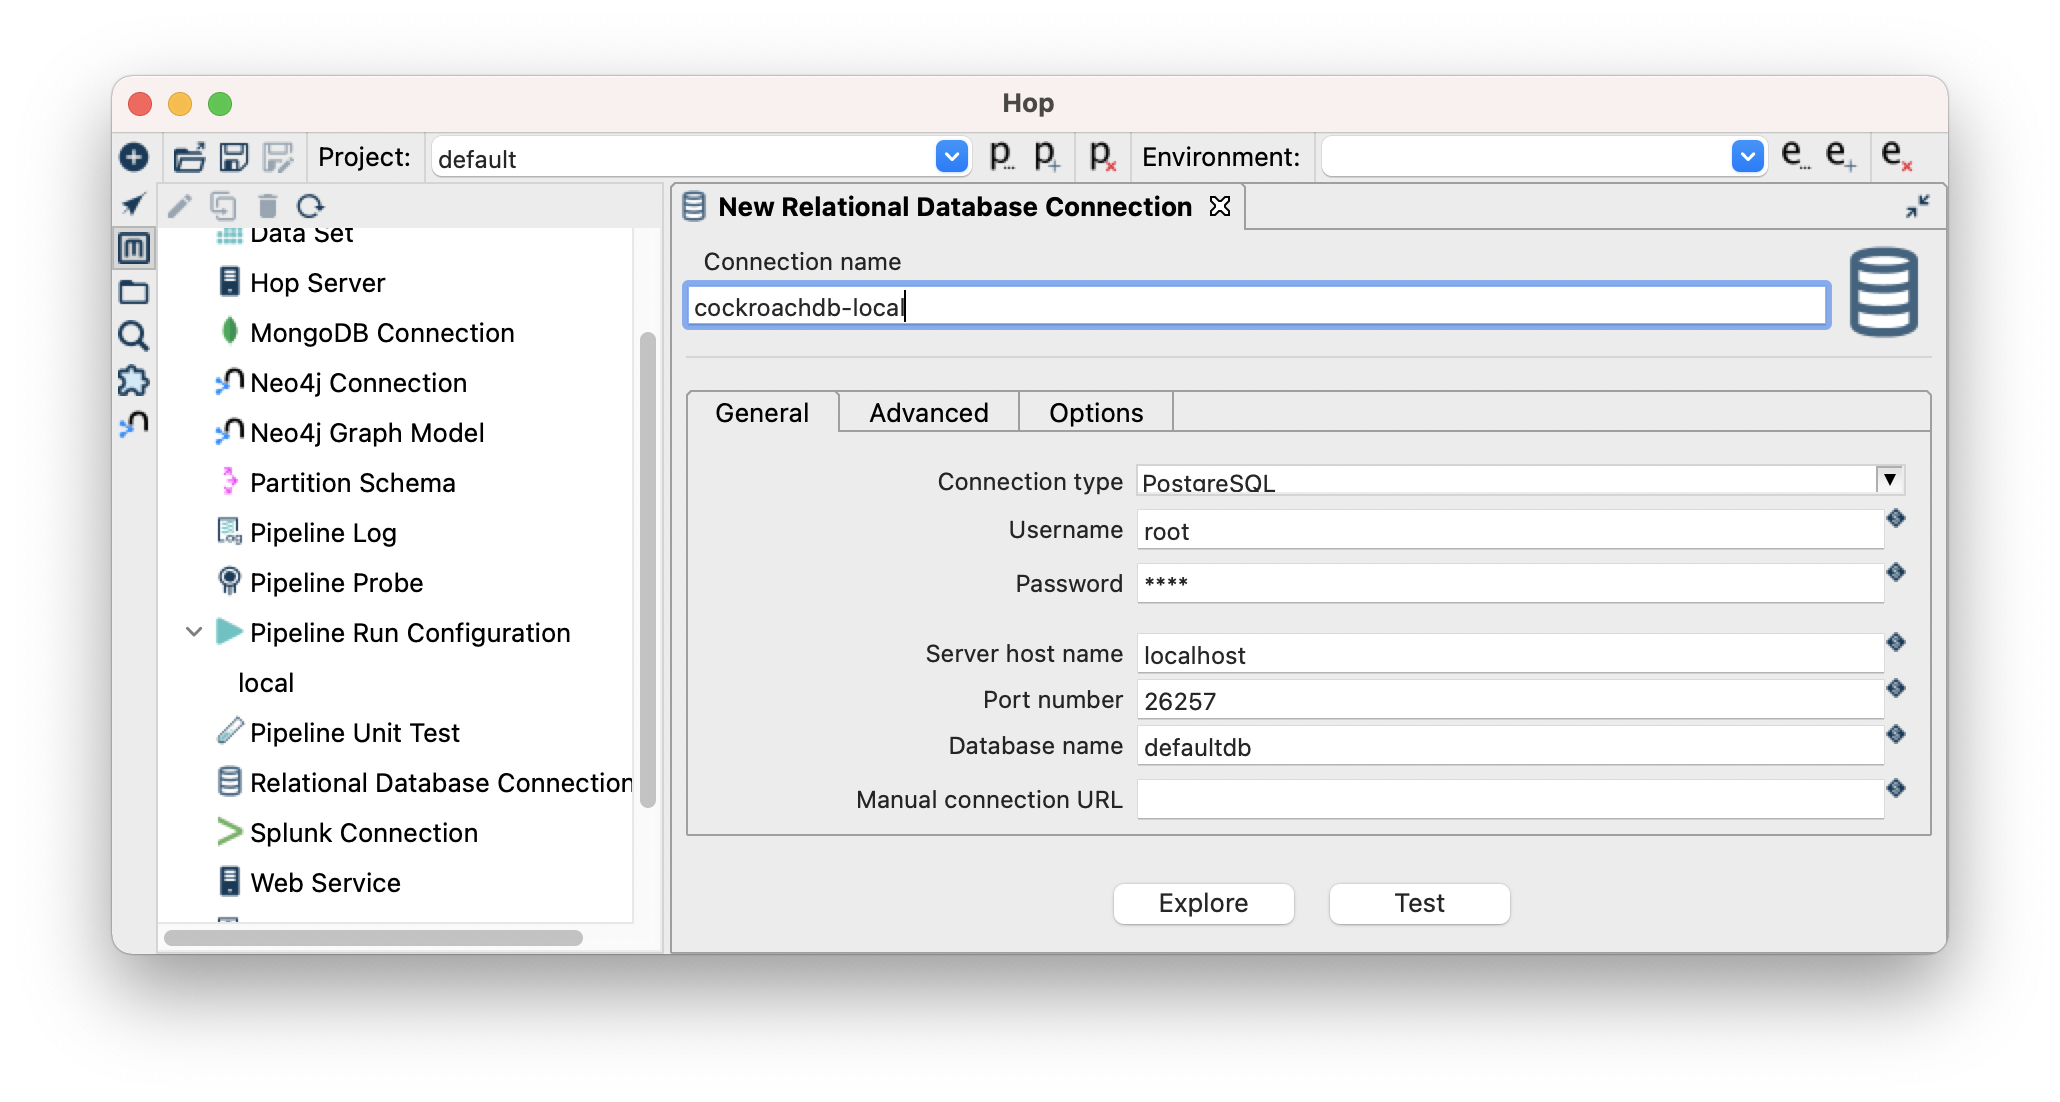 Click save icon on the top left and then you can exit the dialog
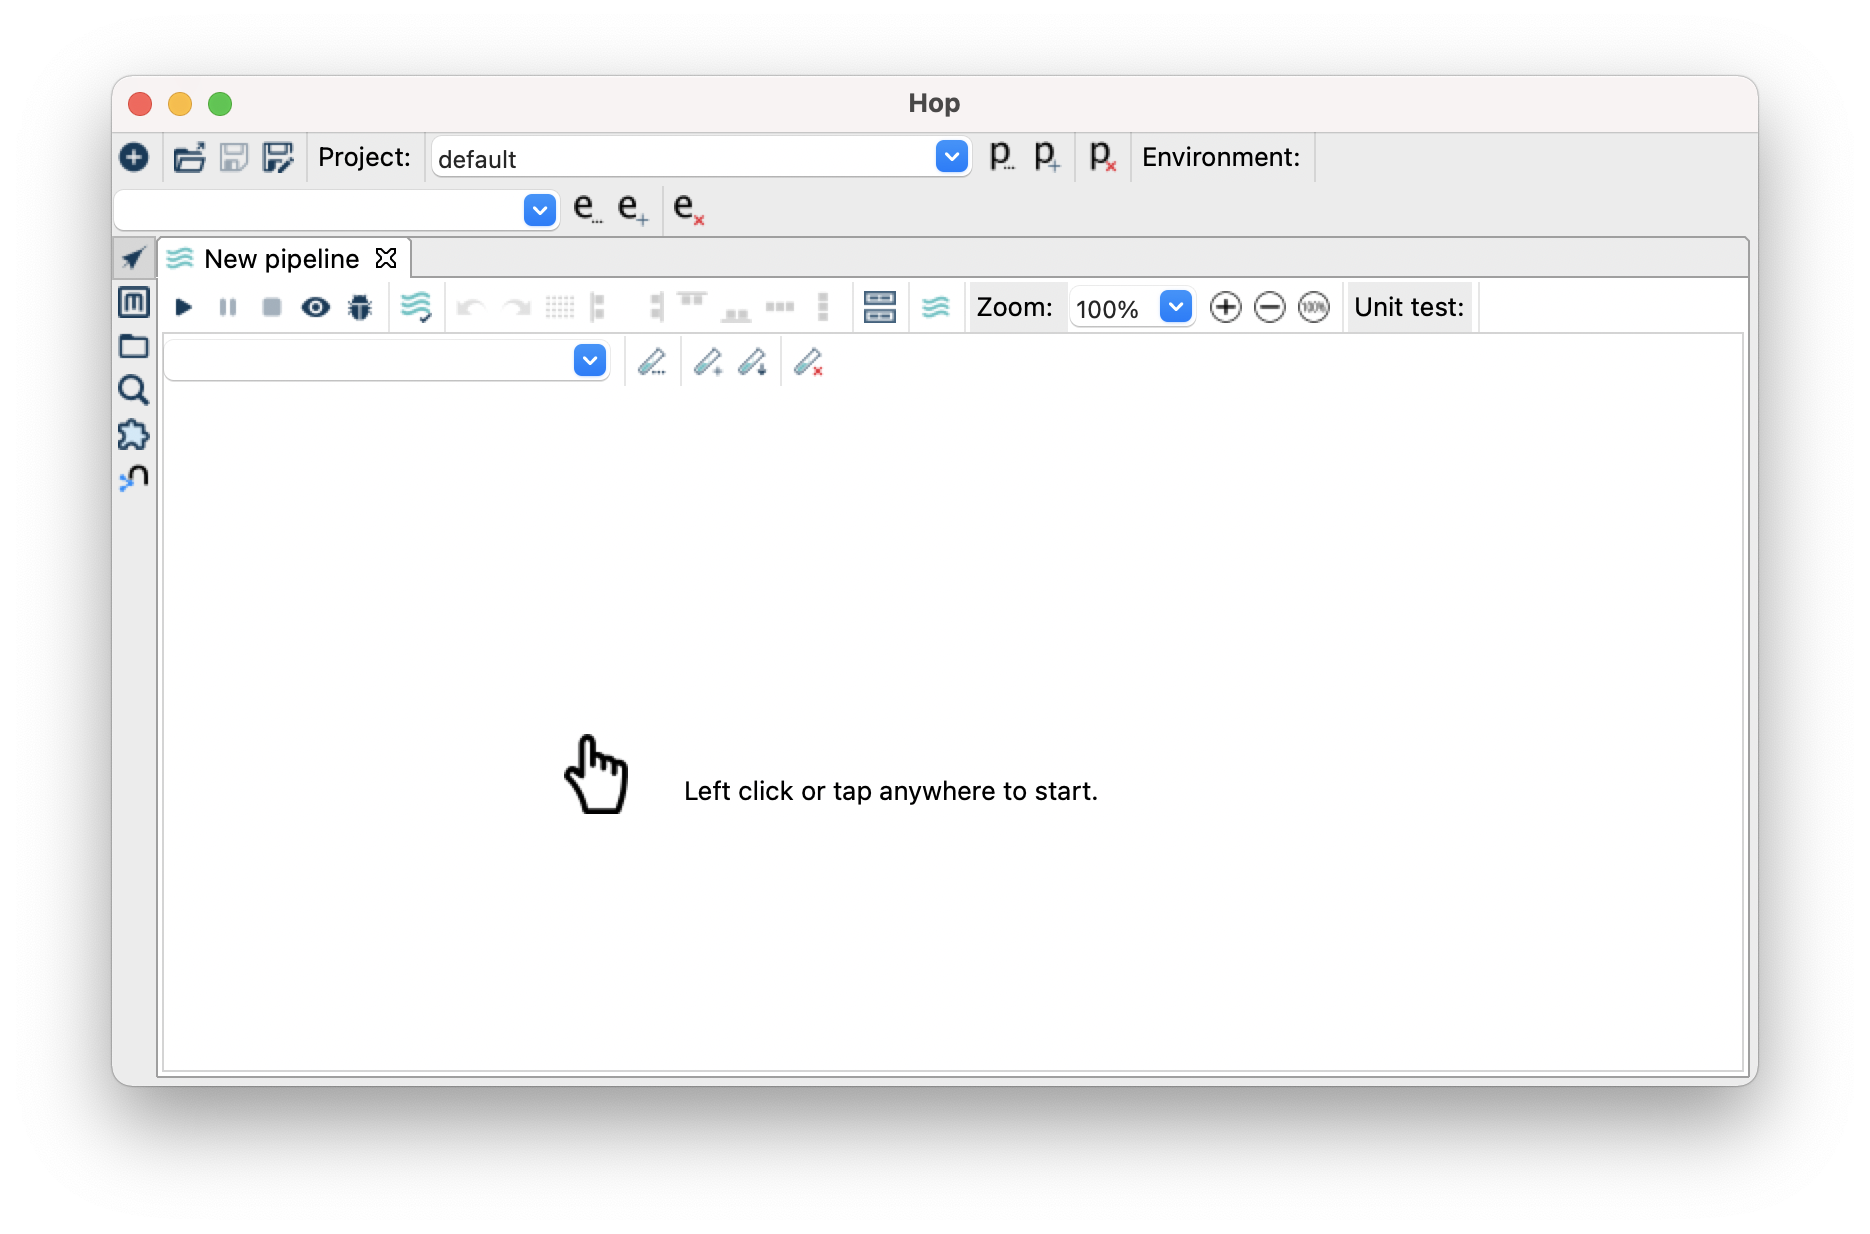
- Now lets create our first pipeline, click the + in the left hand side menu and then Pipeline.
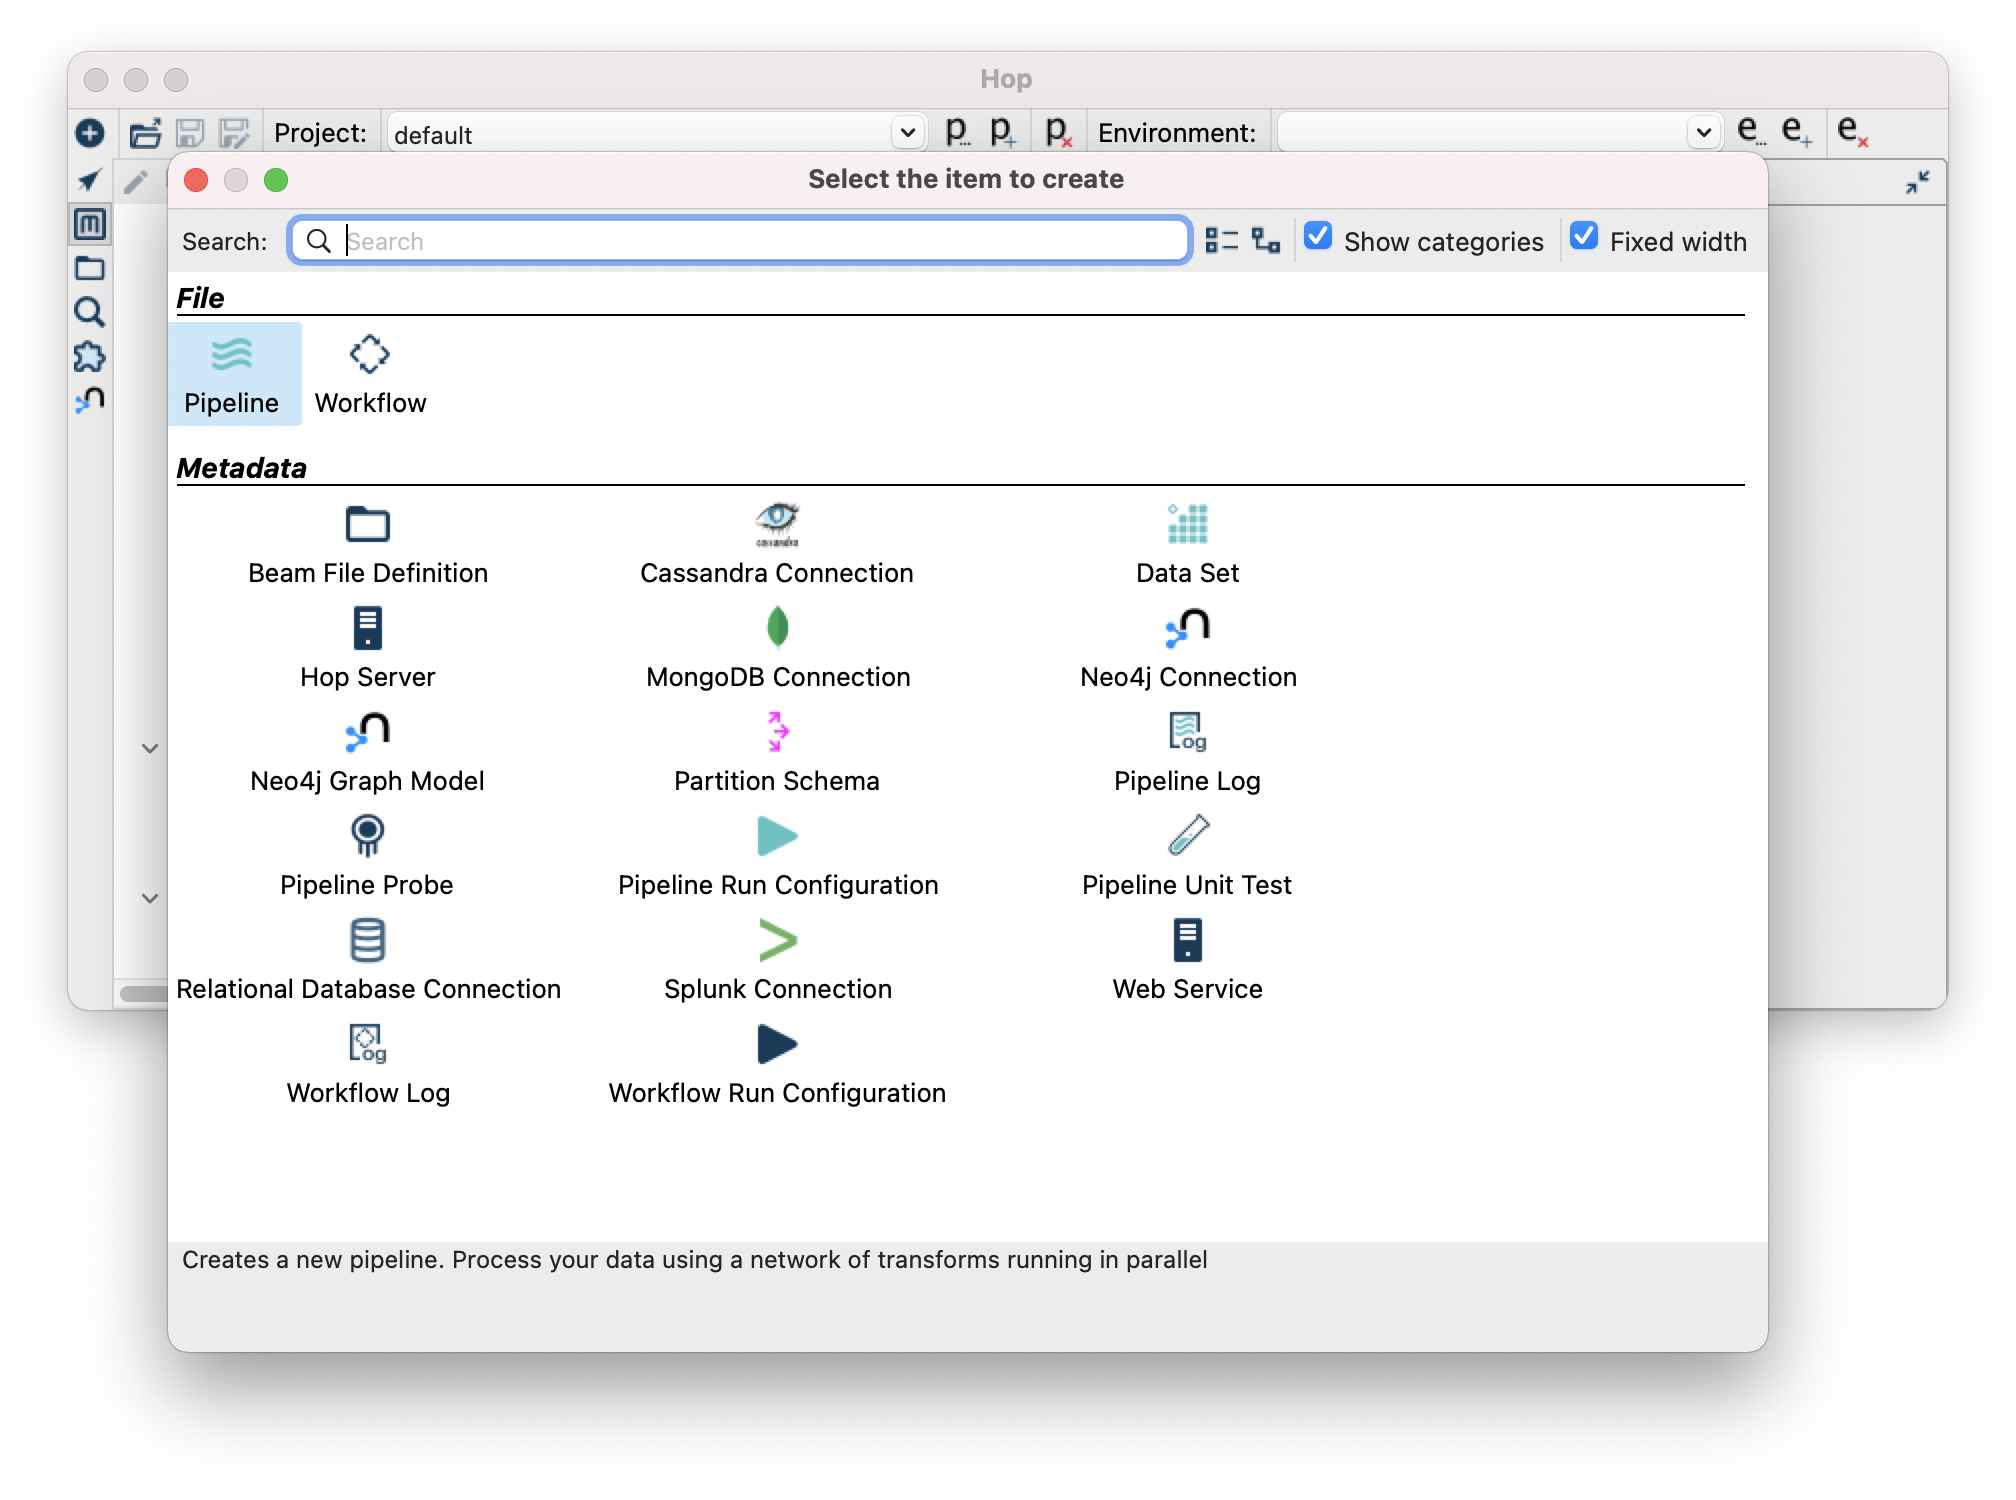
- You will be presented with an empty canvas, left click and a dialog box will appear to add a new step.
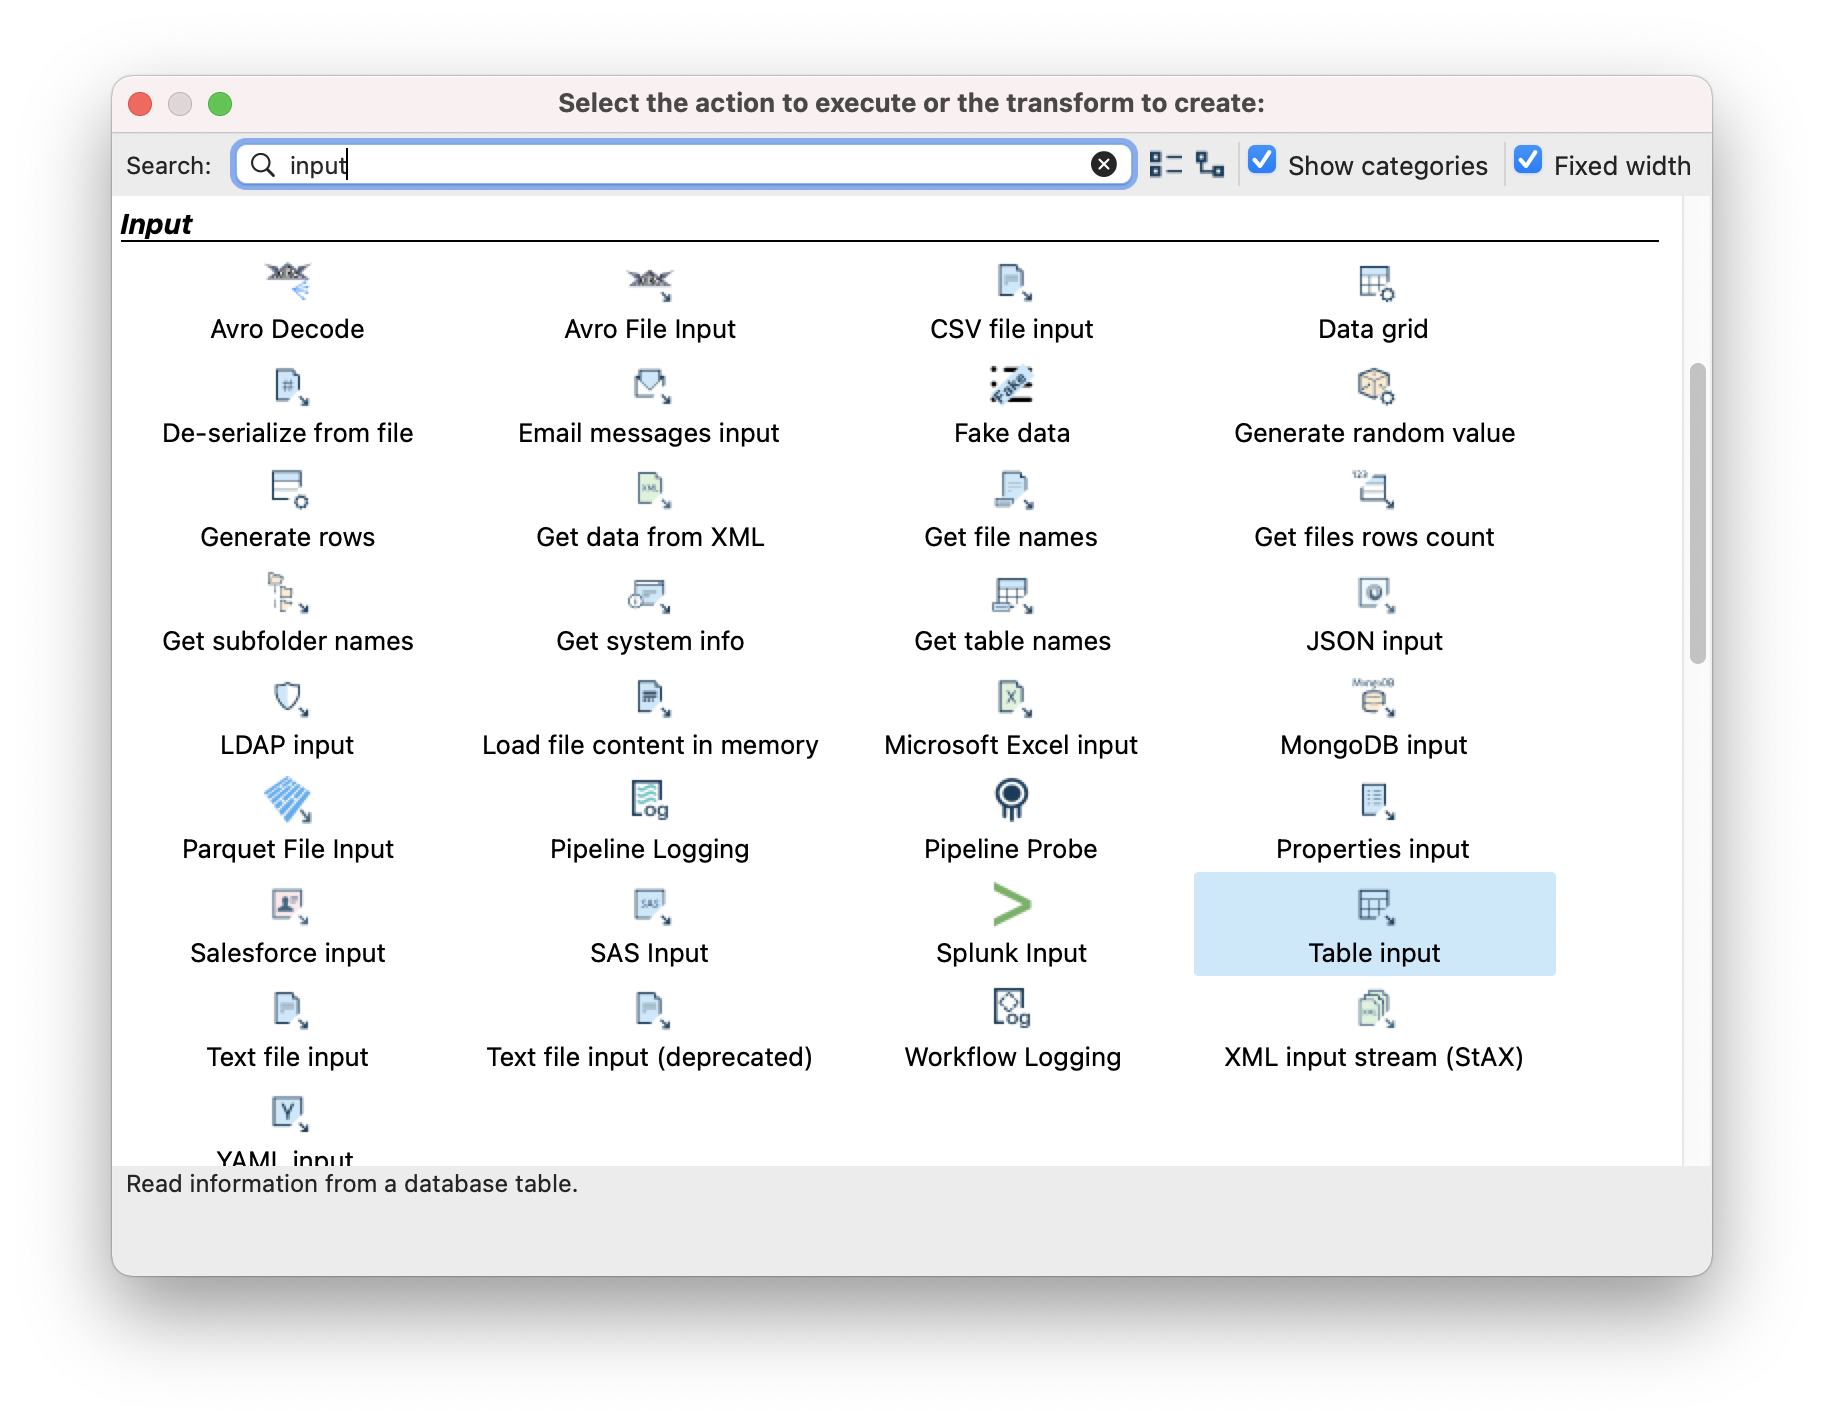
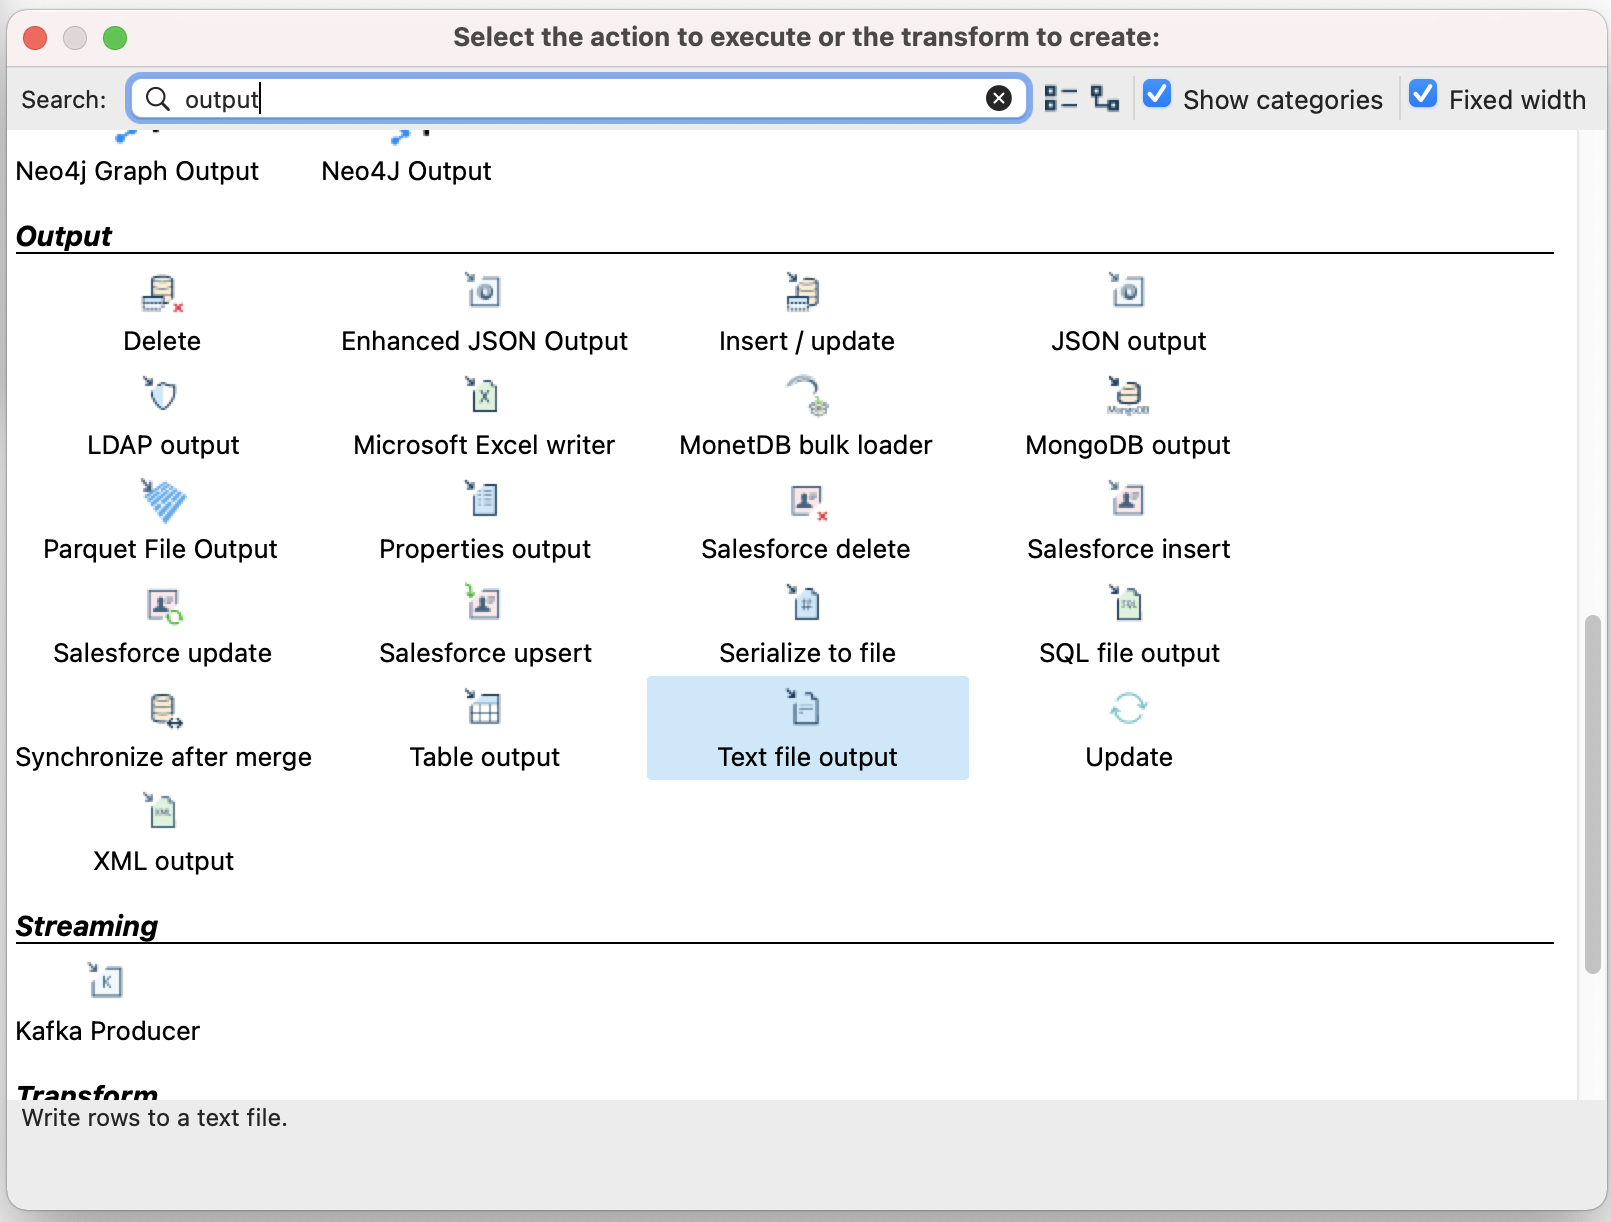
- Filter for “input” and then click on “Table Input”.
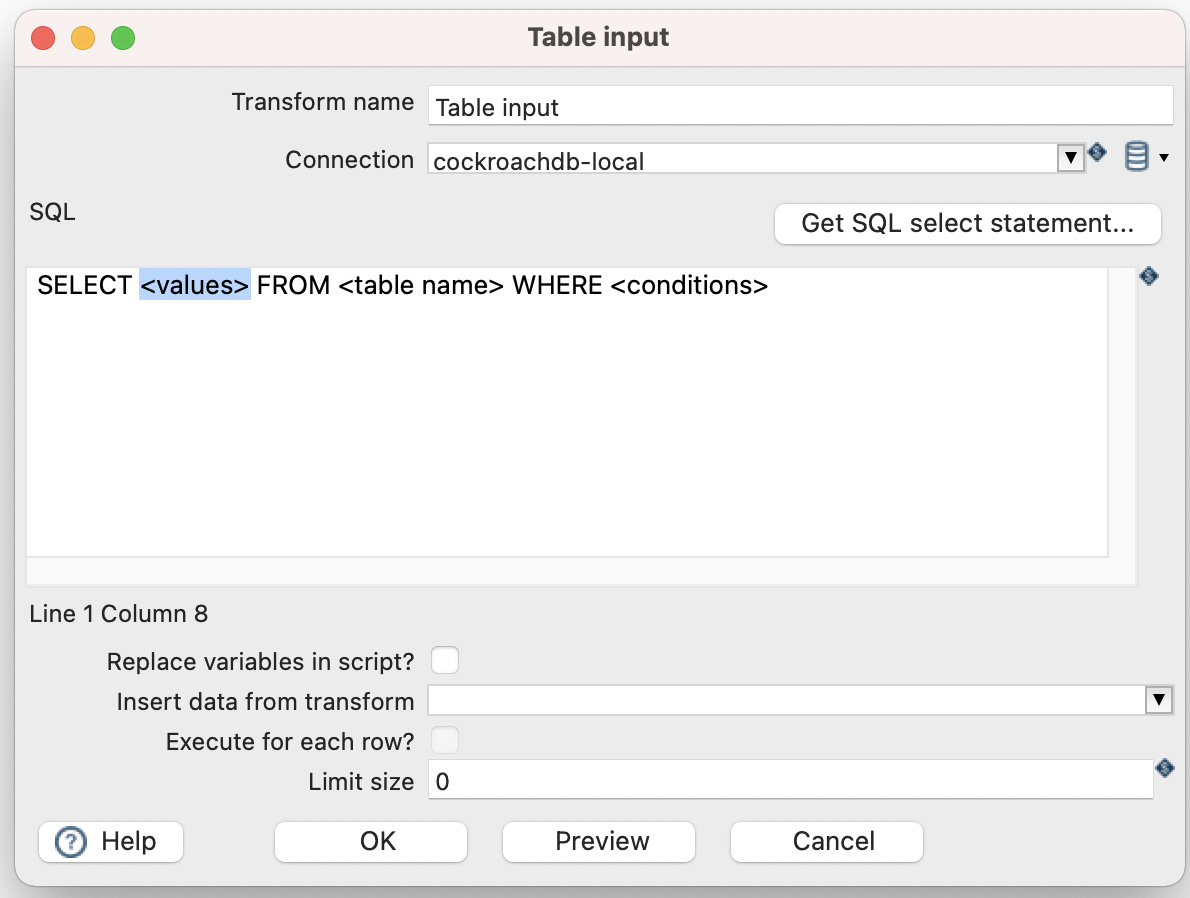
- Click the “Table Input” step. Then click “Edit”.

- In the dialog, input an SQL select query.
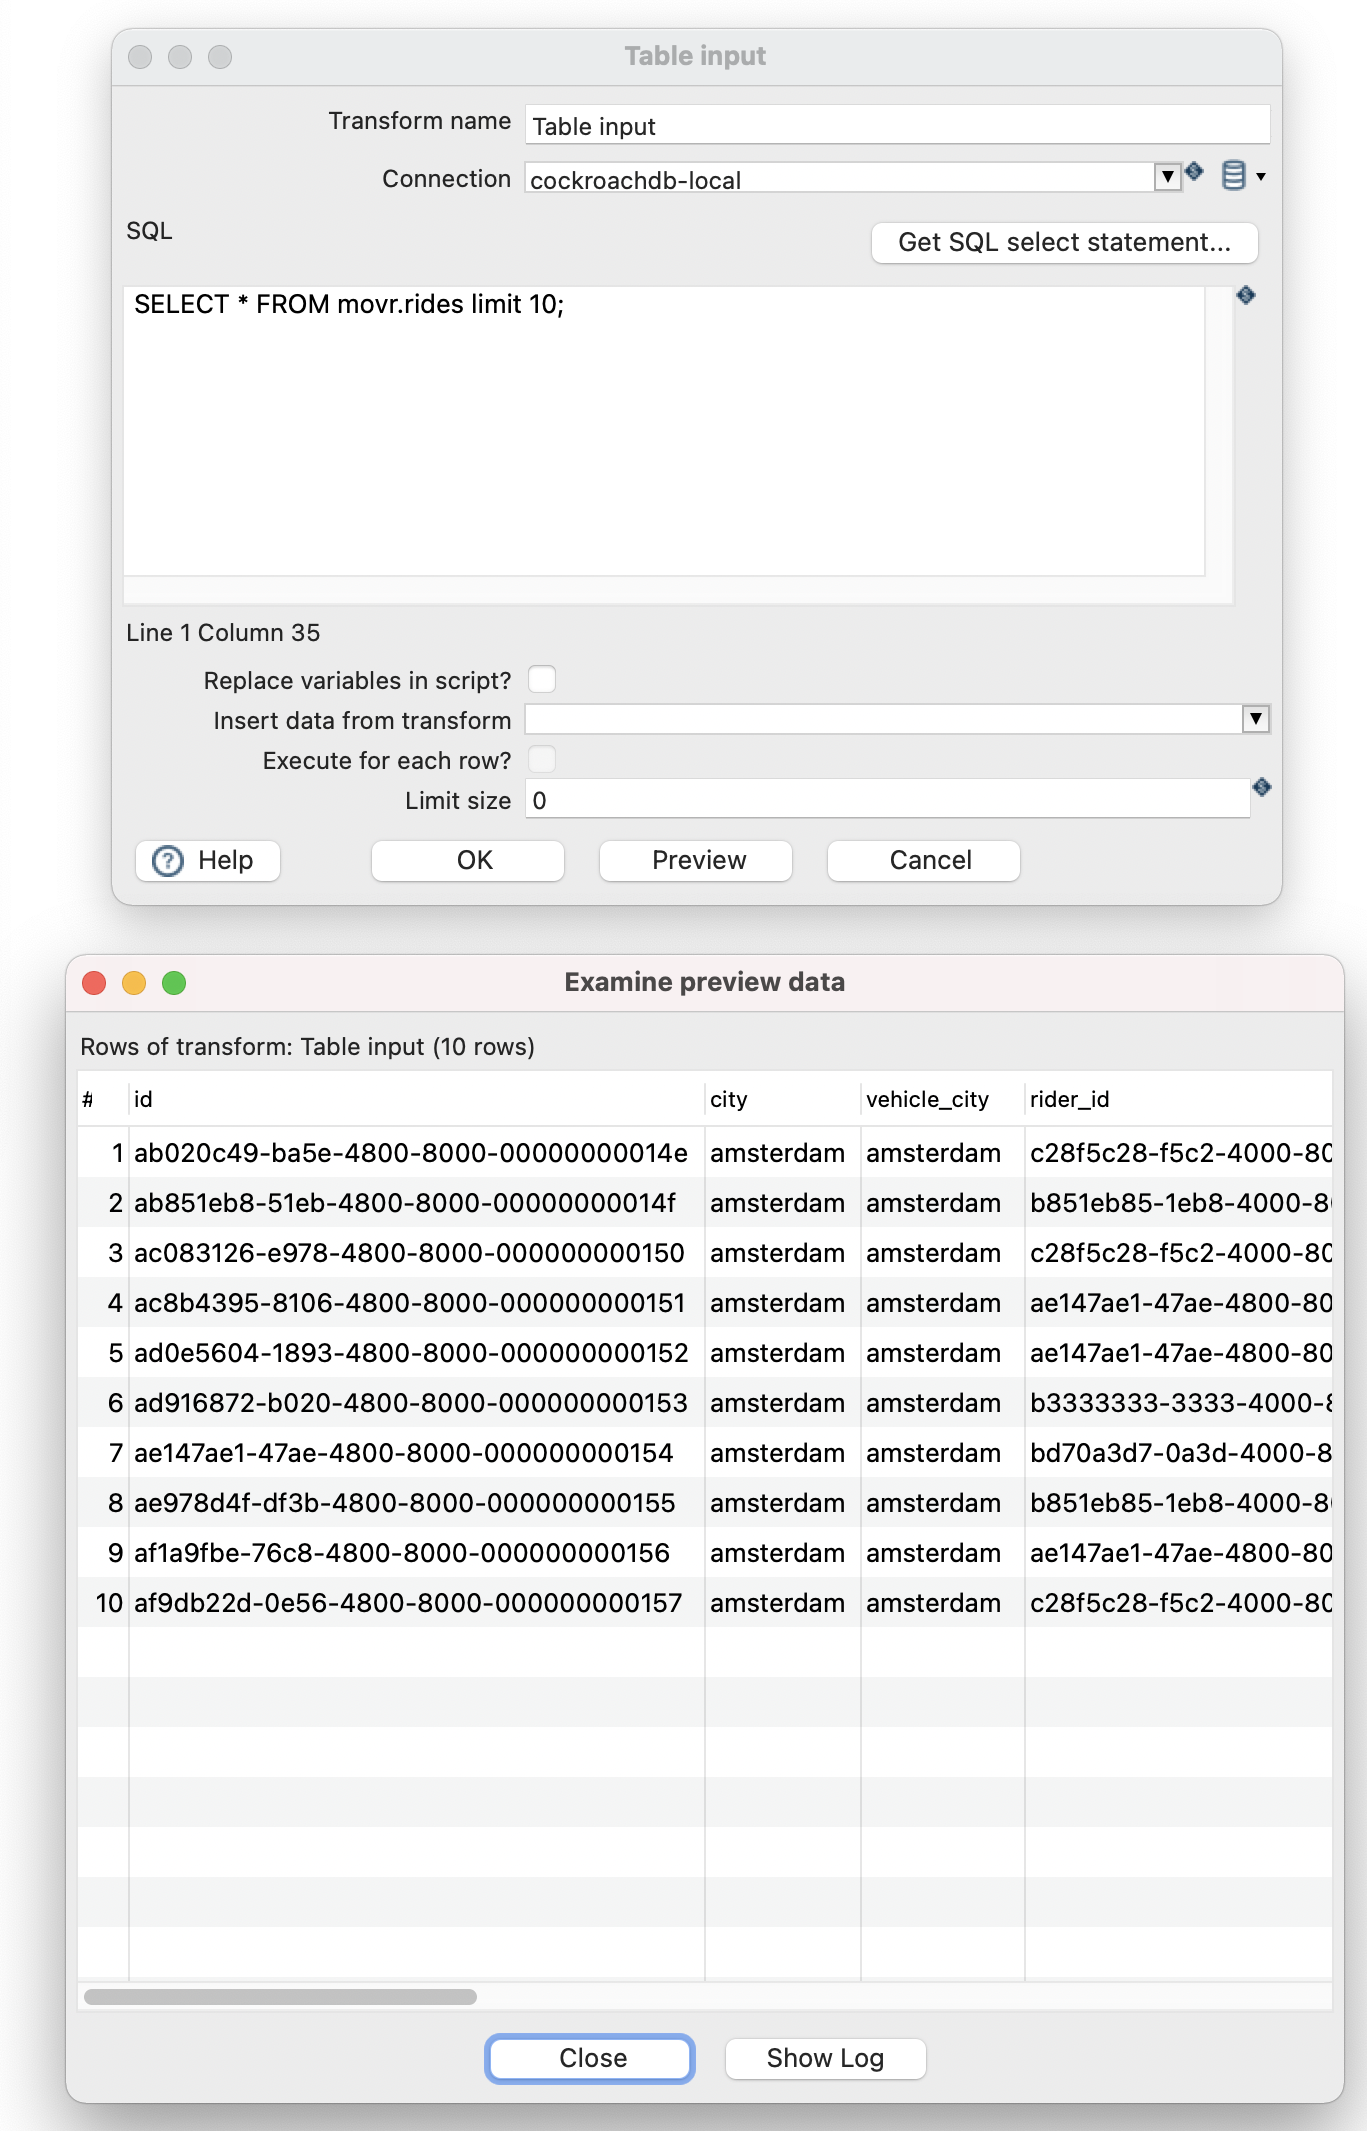
- Don’t forget to click “Preview” to check the SQL statement is correct! For this exercise, the CockroachDB example workload movr was used to create the database, tables and fake data.
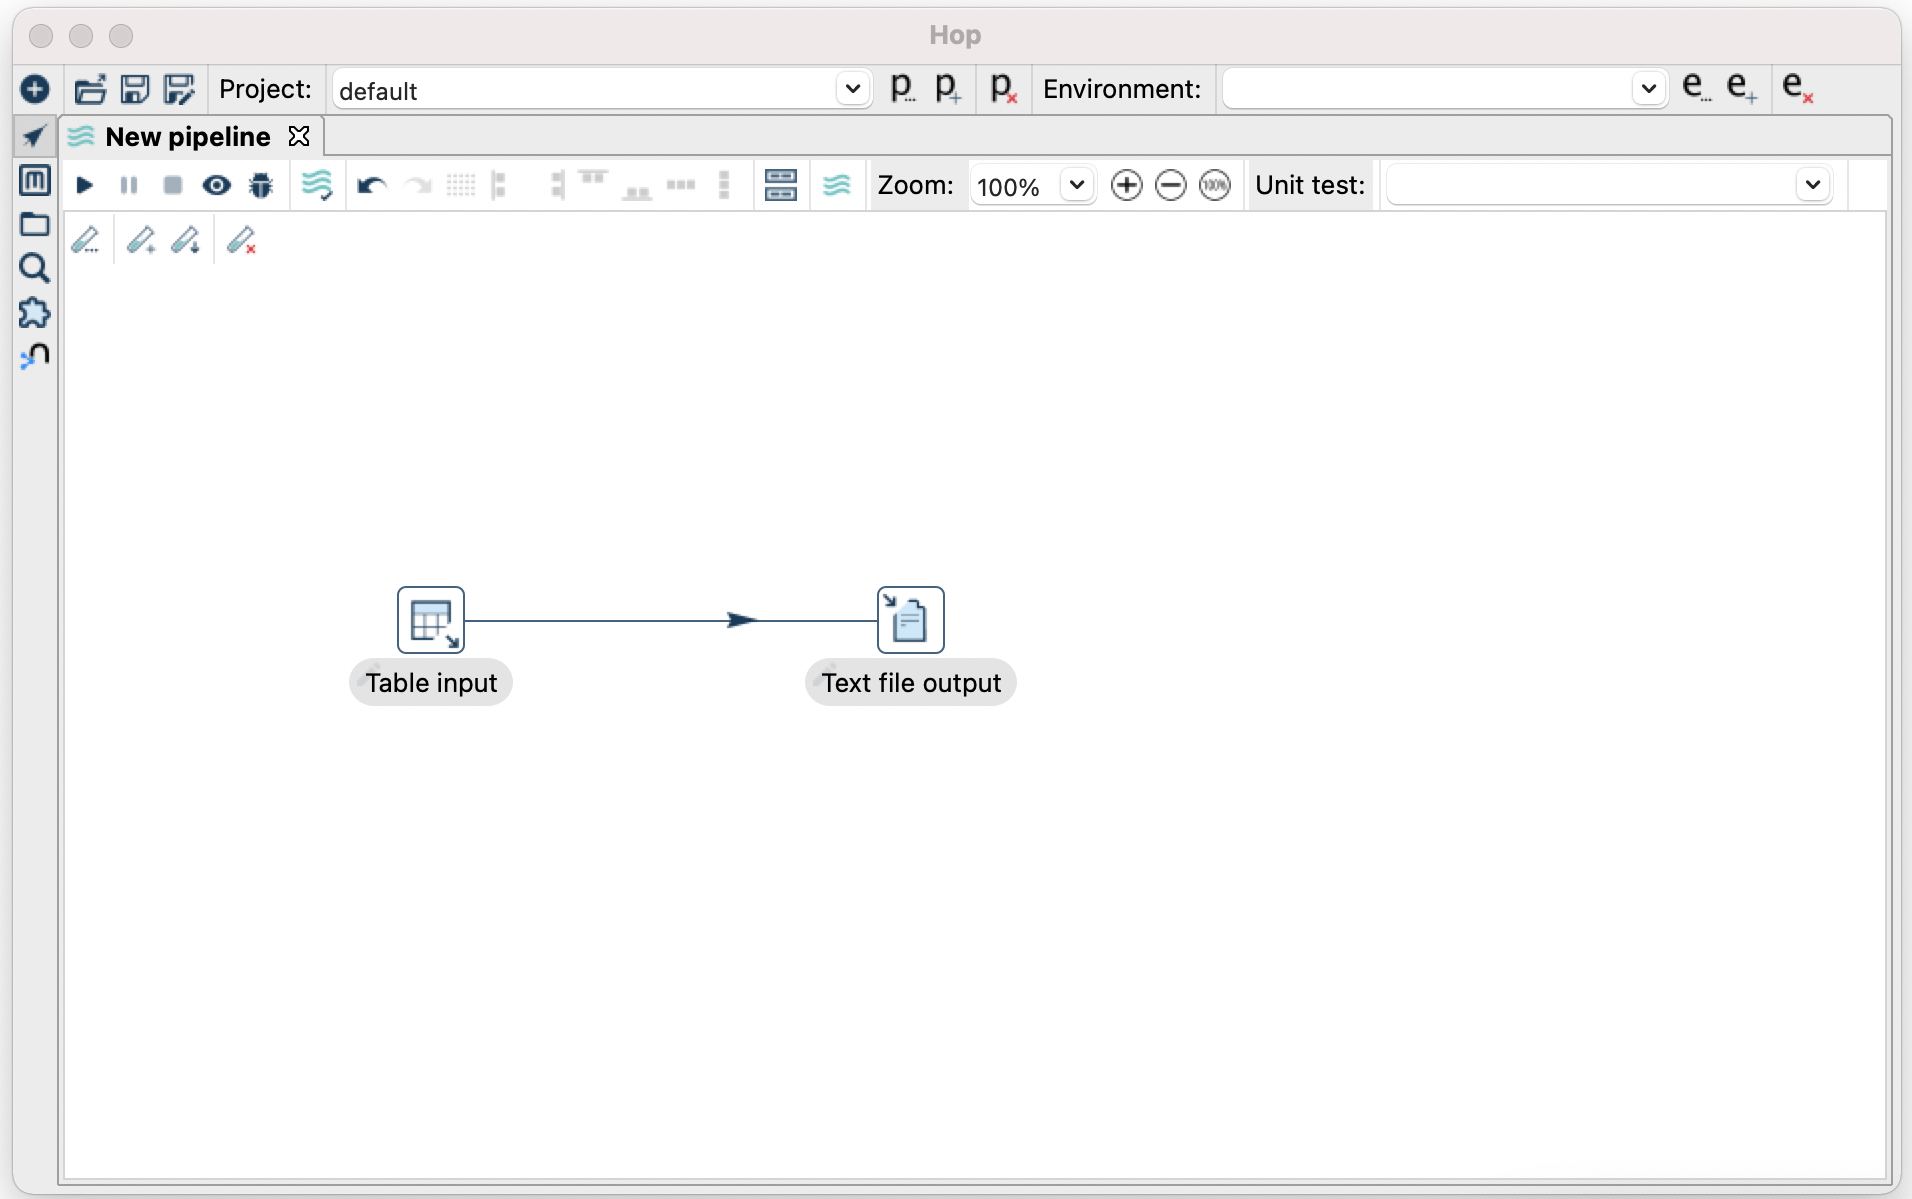
- Now we will add a text file output and write our results to CSV. You must first, add the “Text file output” step. Link the 2 steps together by holding the shift key + left clicking the “Table Input”, then drag from “Table Input” to “Text file output”.
- You should now see a basic pipeline.
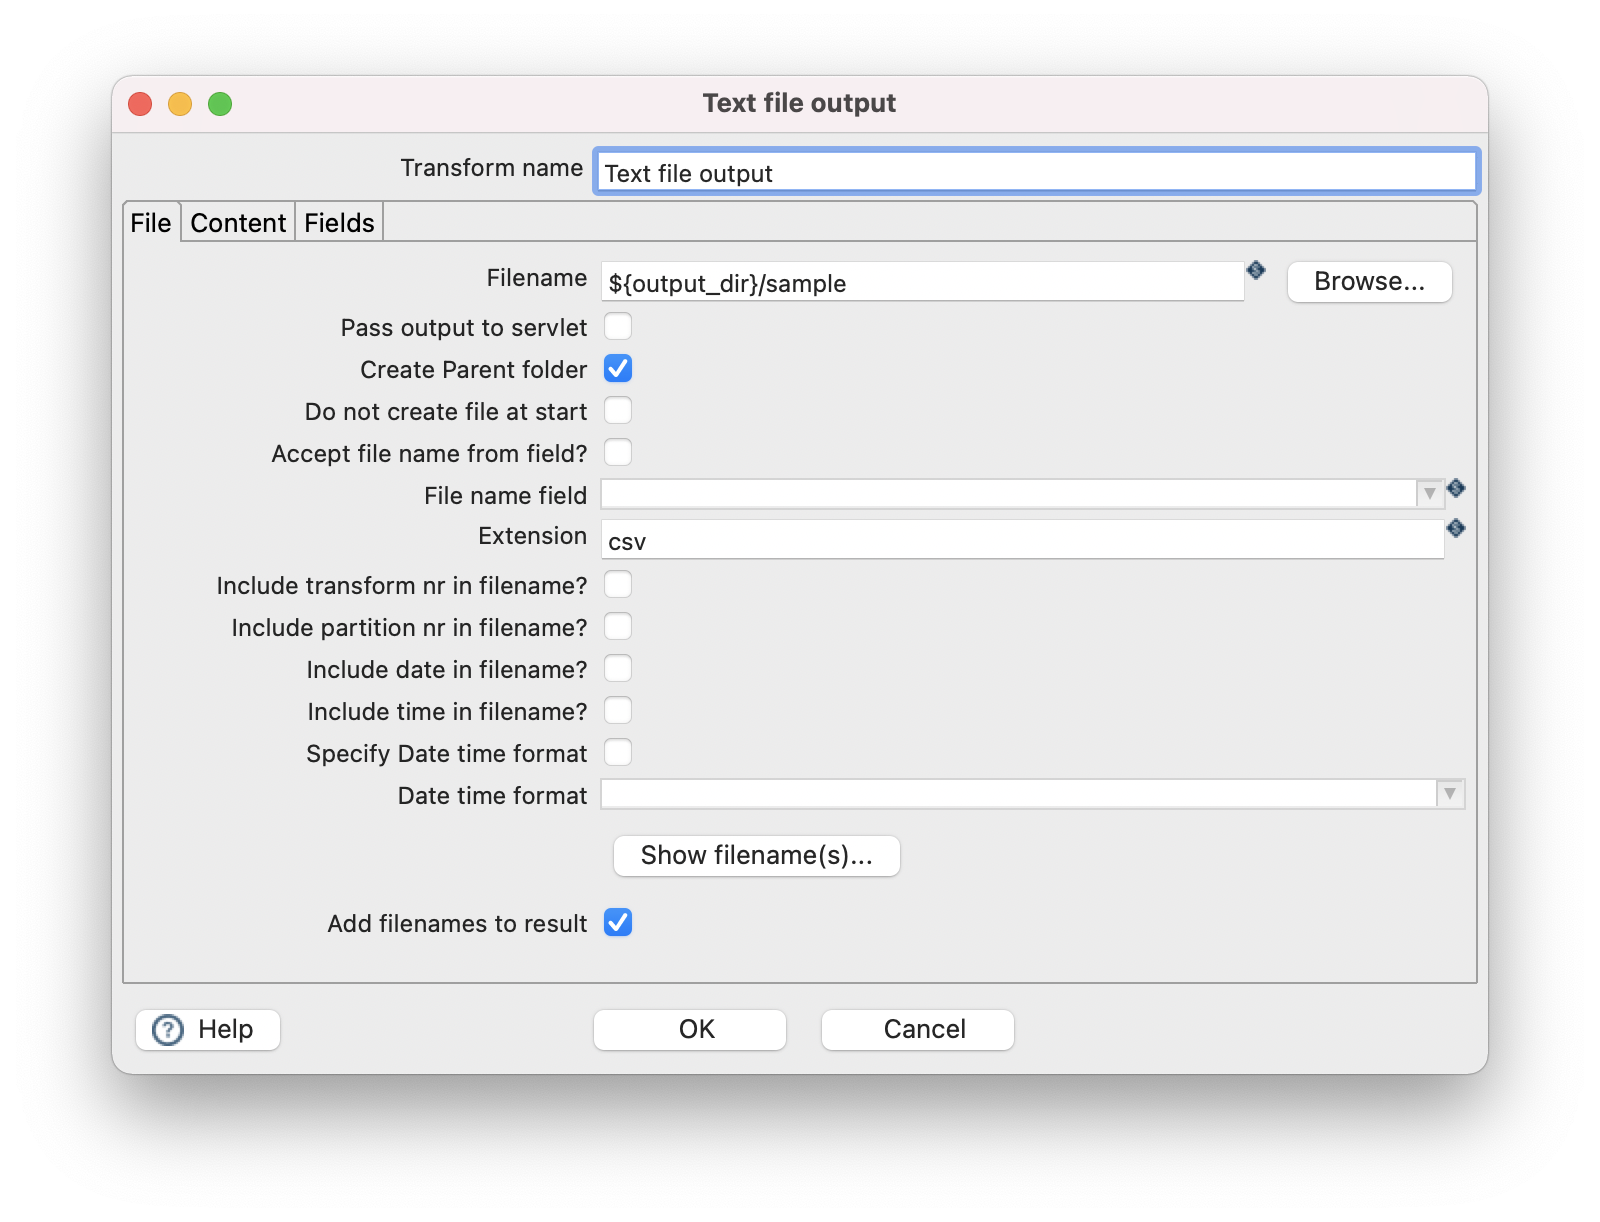
- Double click the “Text file output” and add a filename, in this example I use a variable, you will need to provide the the variable ${output_dir} when you run the pipeline
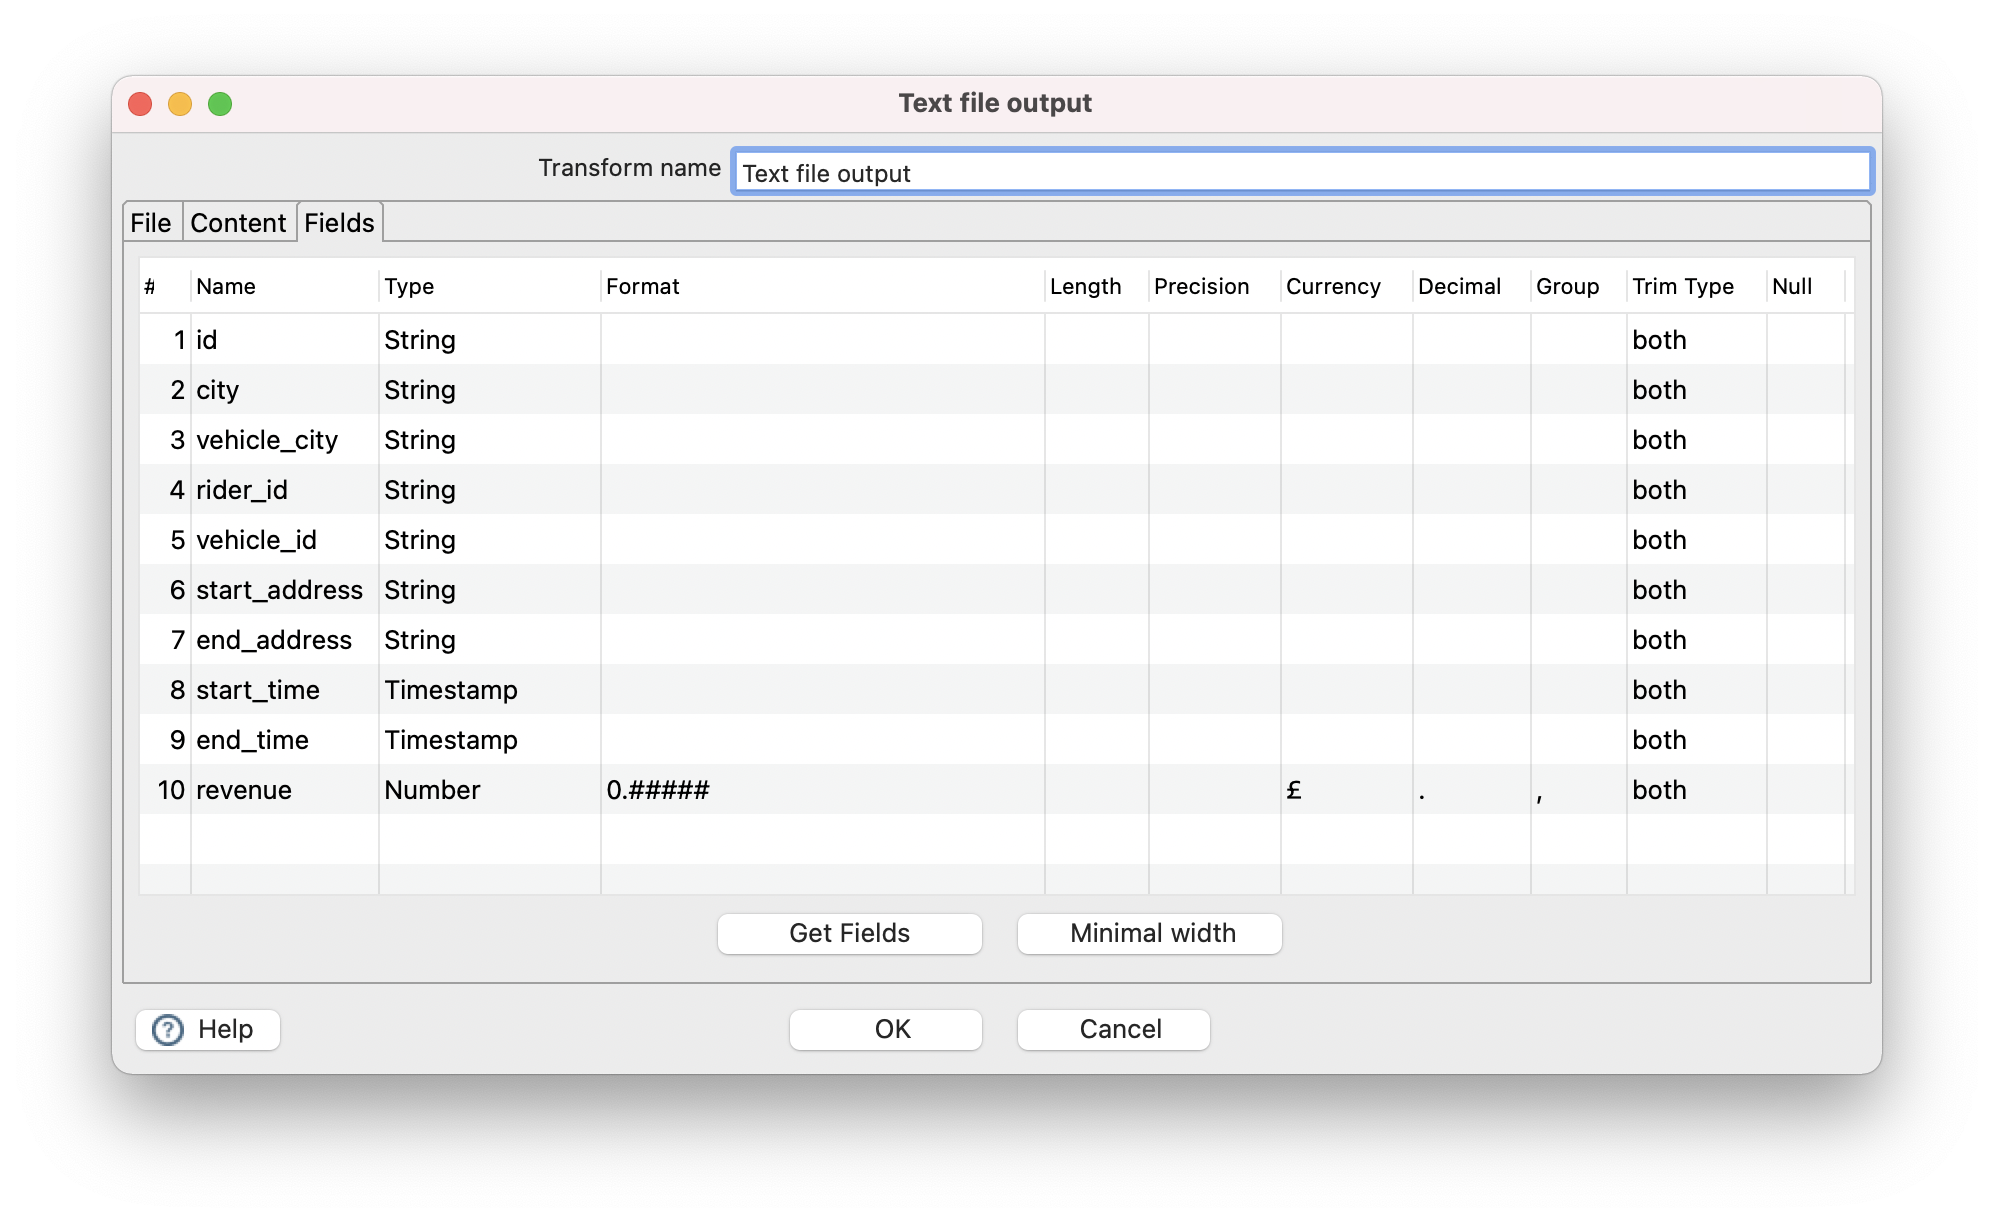
- Click the Fields tab and add fields that you would like to output to CSV. You can use “Get fields” and “Minimal width” to autofill the fields.
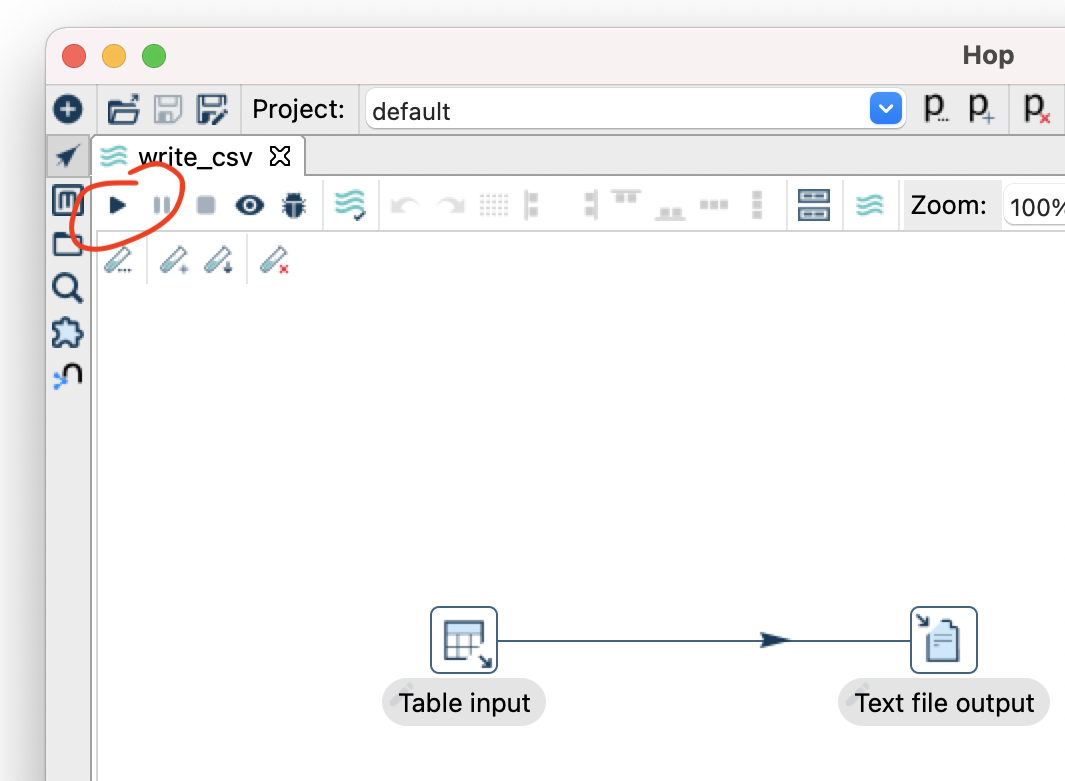
- Now save the pipeline

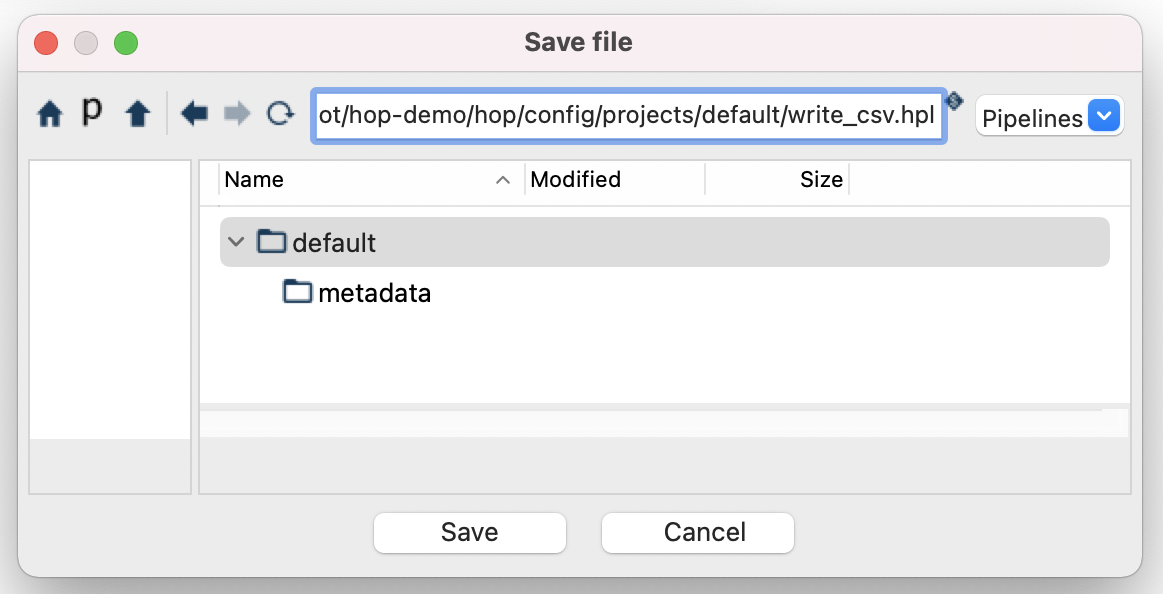
- Click the play button .
- Update the output_dir variable in the variables tab and click “Launch”.

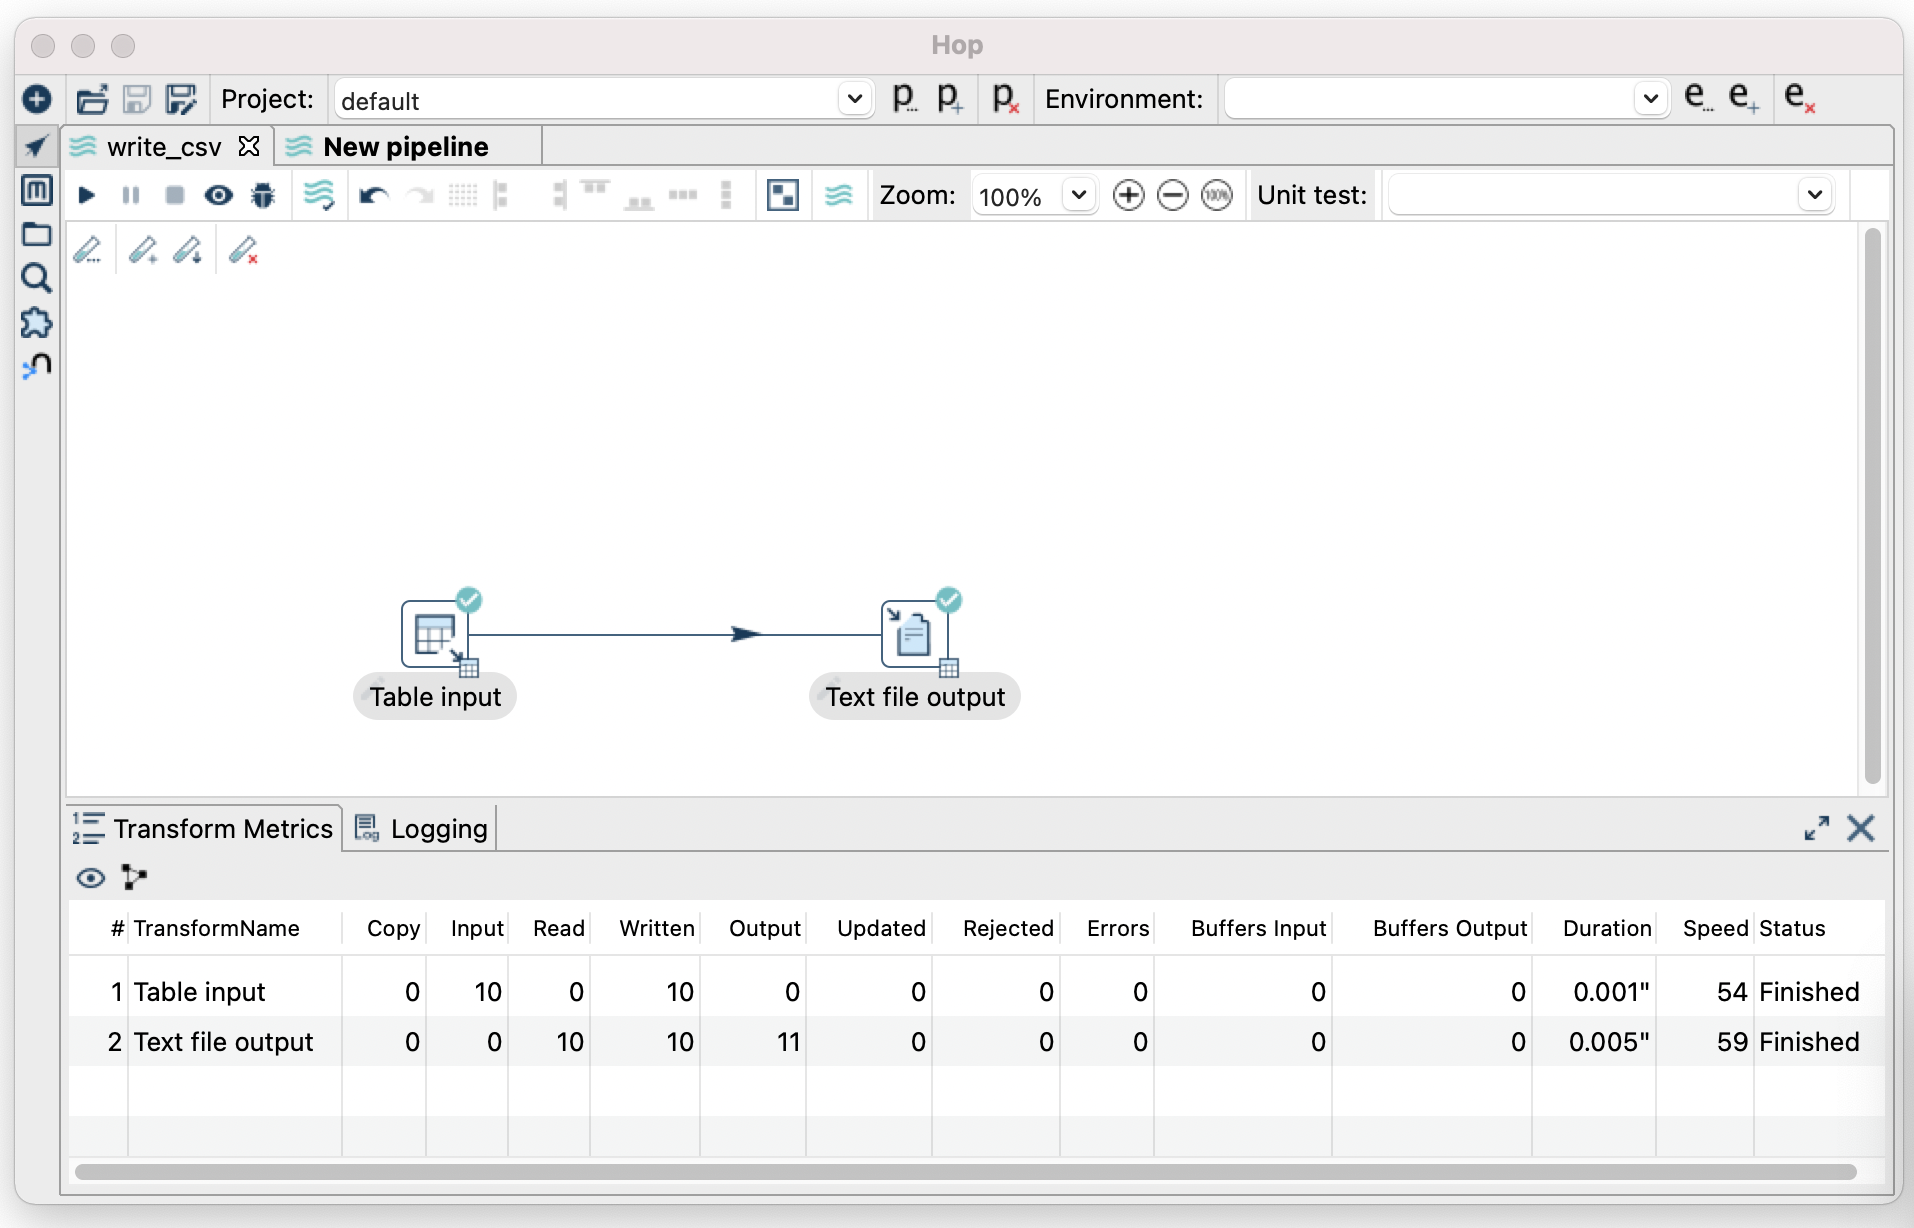
- Success! We written some rows from the rides table to CSV.
- You should be able to now see the csv.
cat /var/root/sample.csv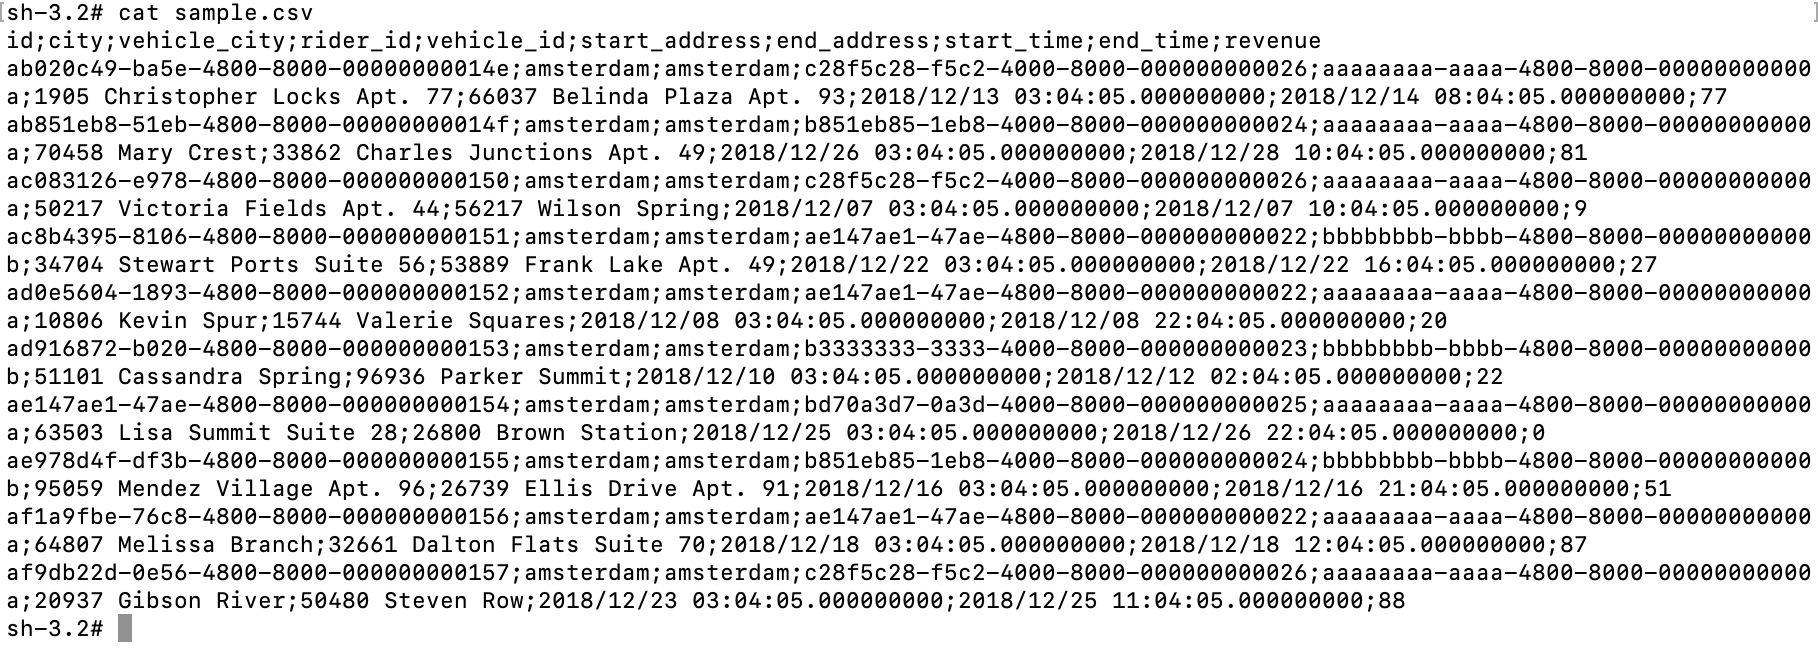
Lets read a CSV and write this back to CockroachDB
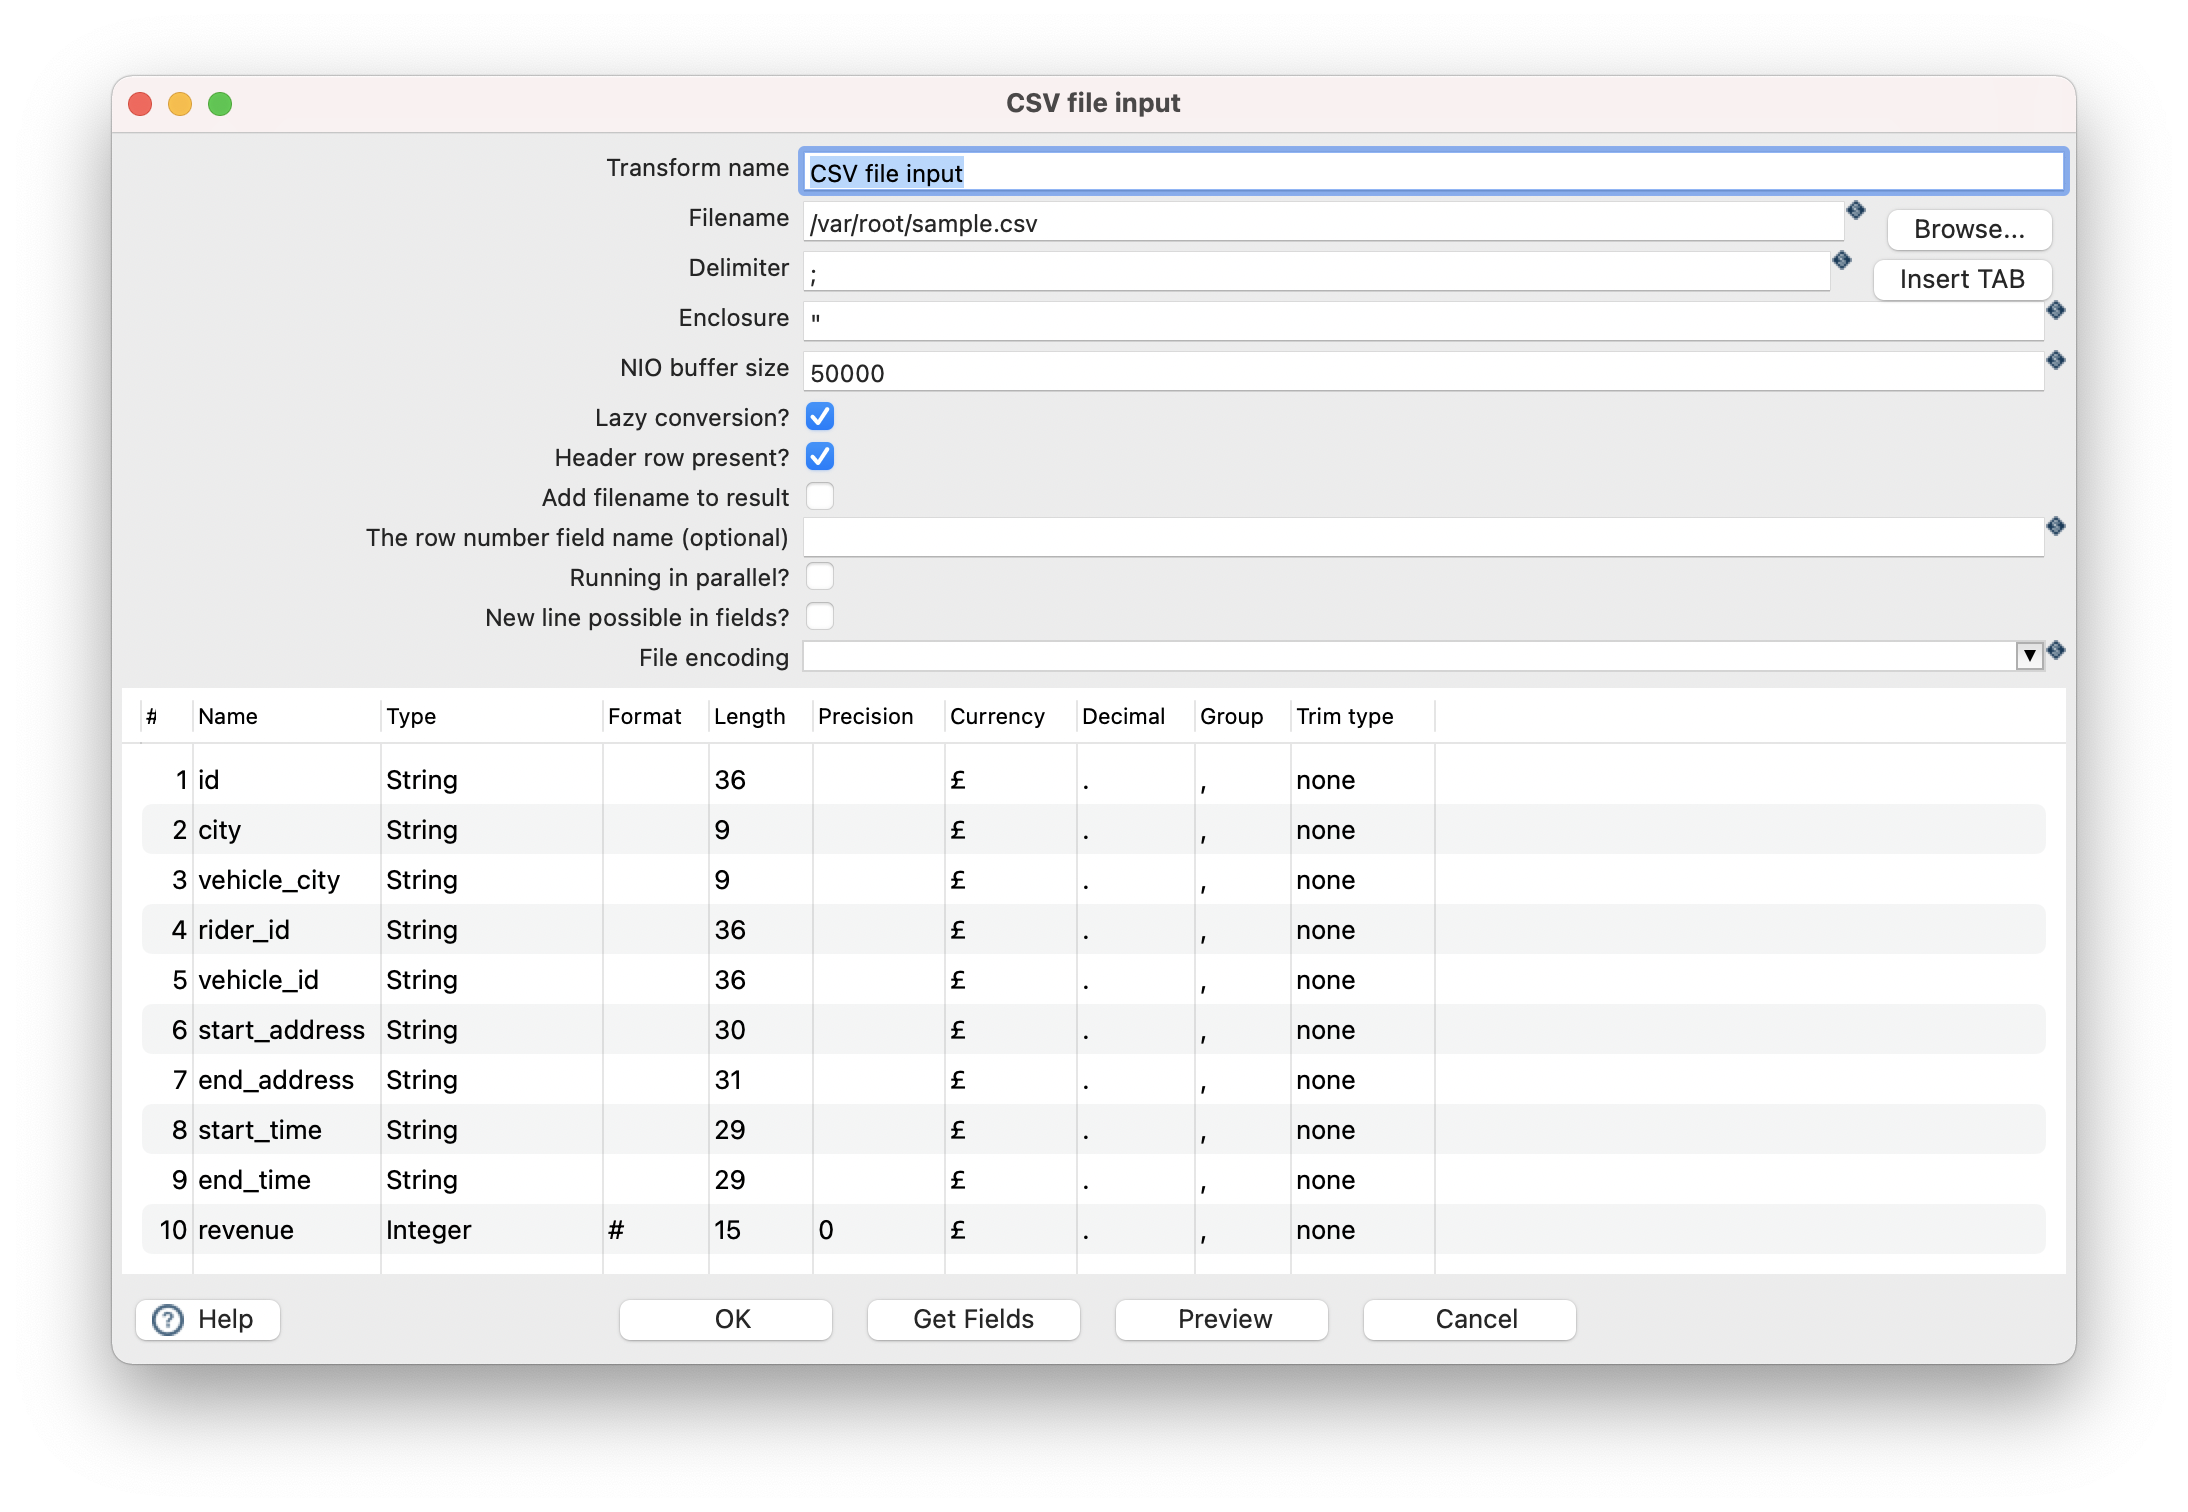
- For this, we will use 2 steps. “CSV file input” and “Table output”.

- CSV File output looks like so:
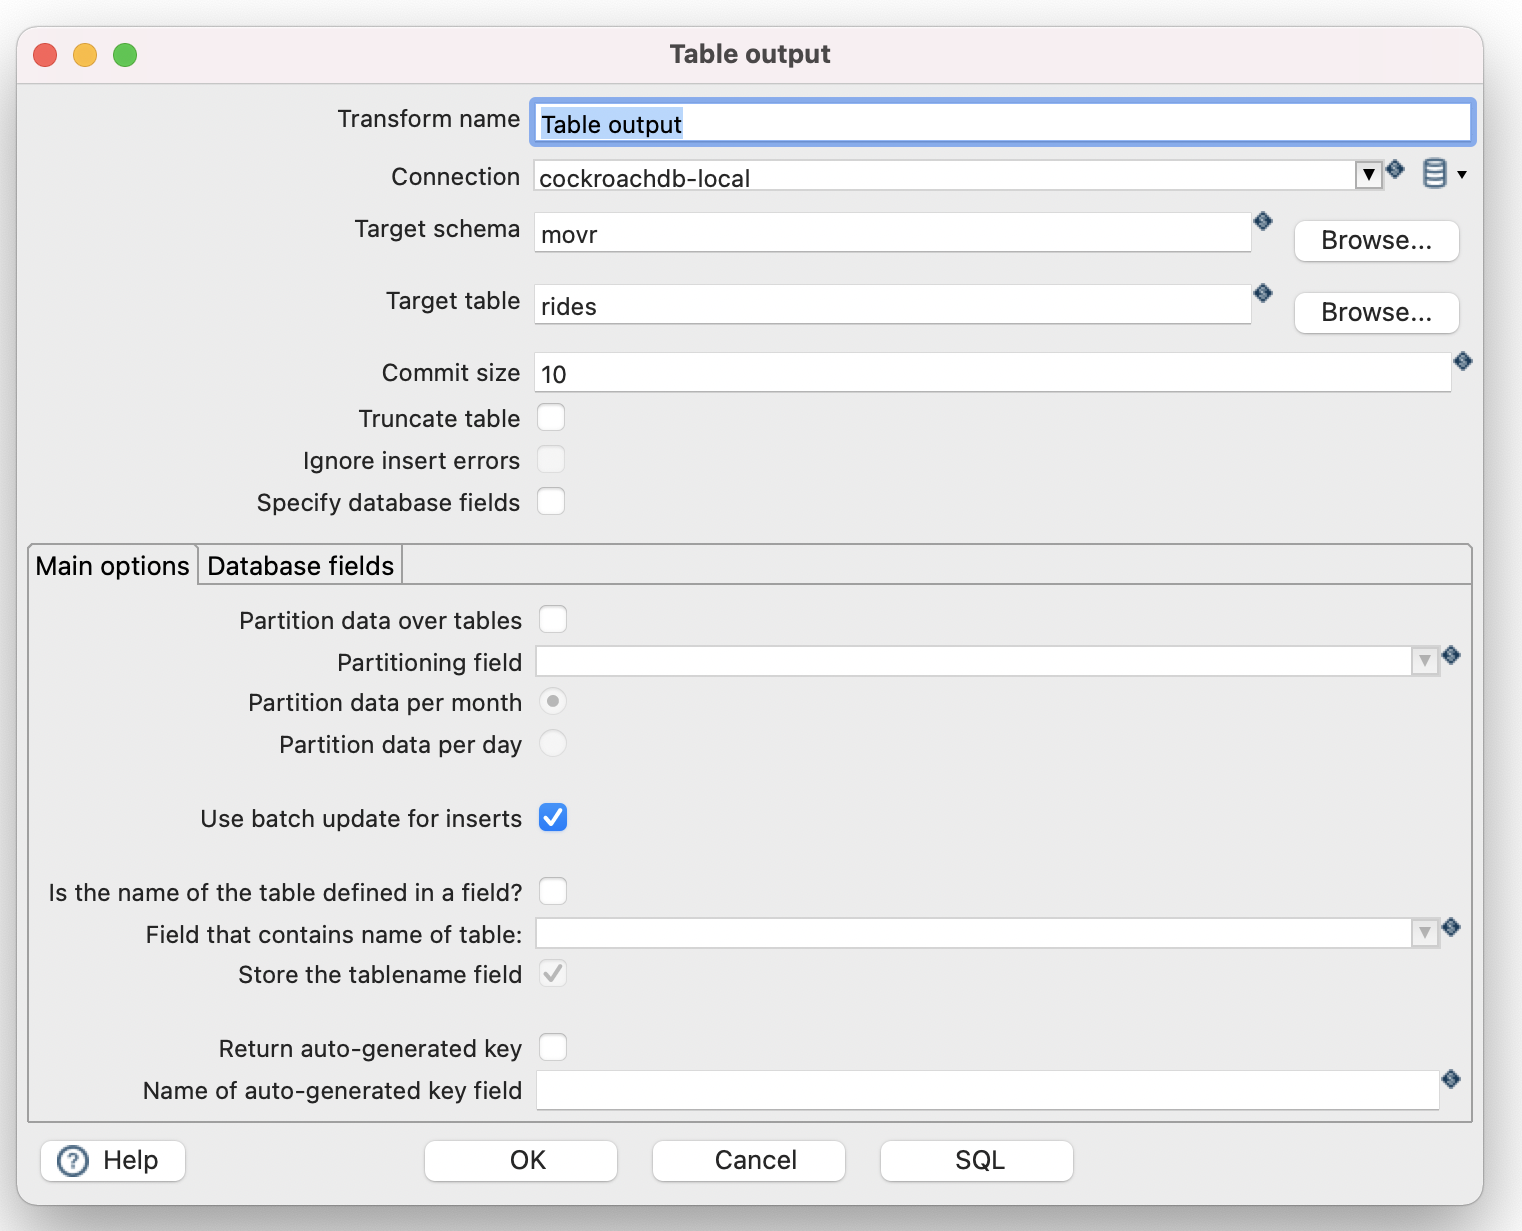
- Table output, update the target schema and target table.
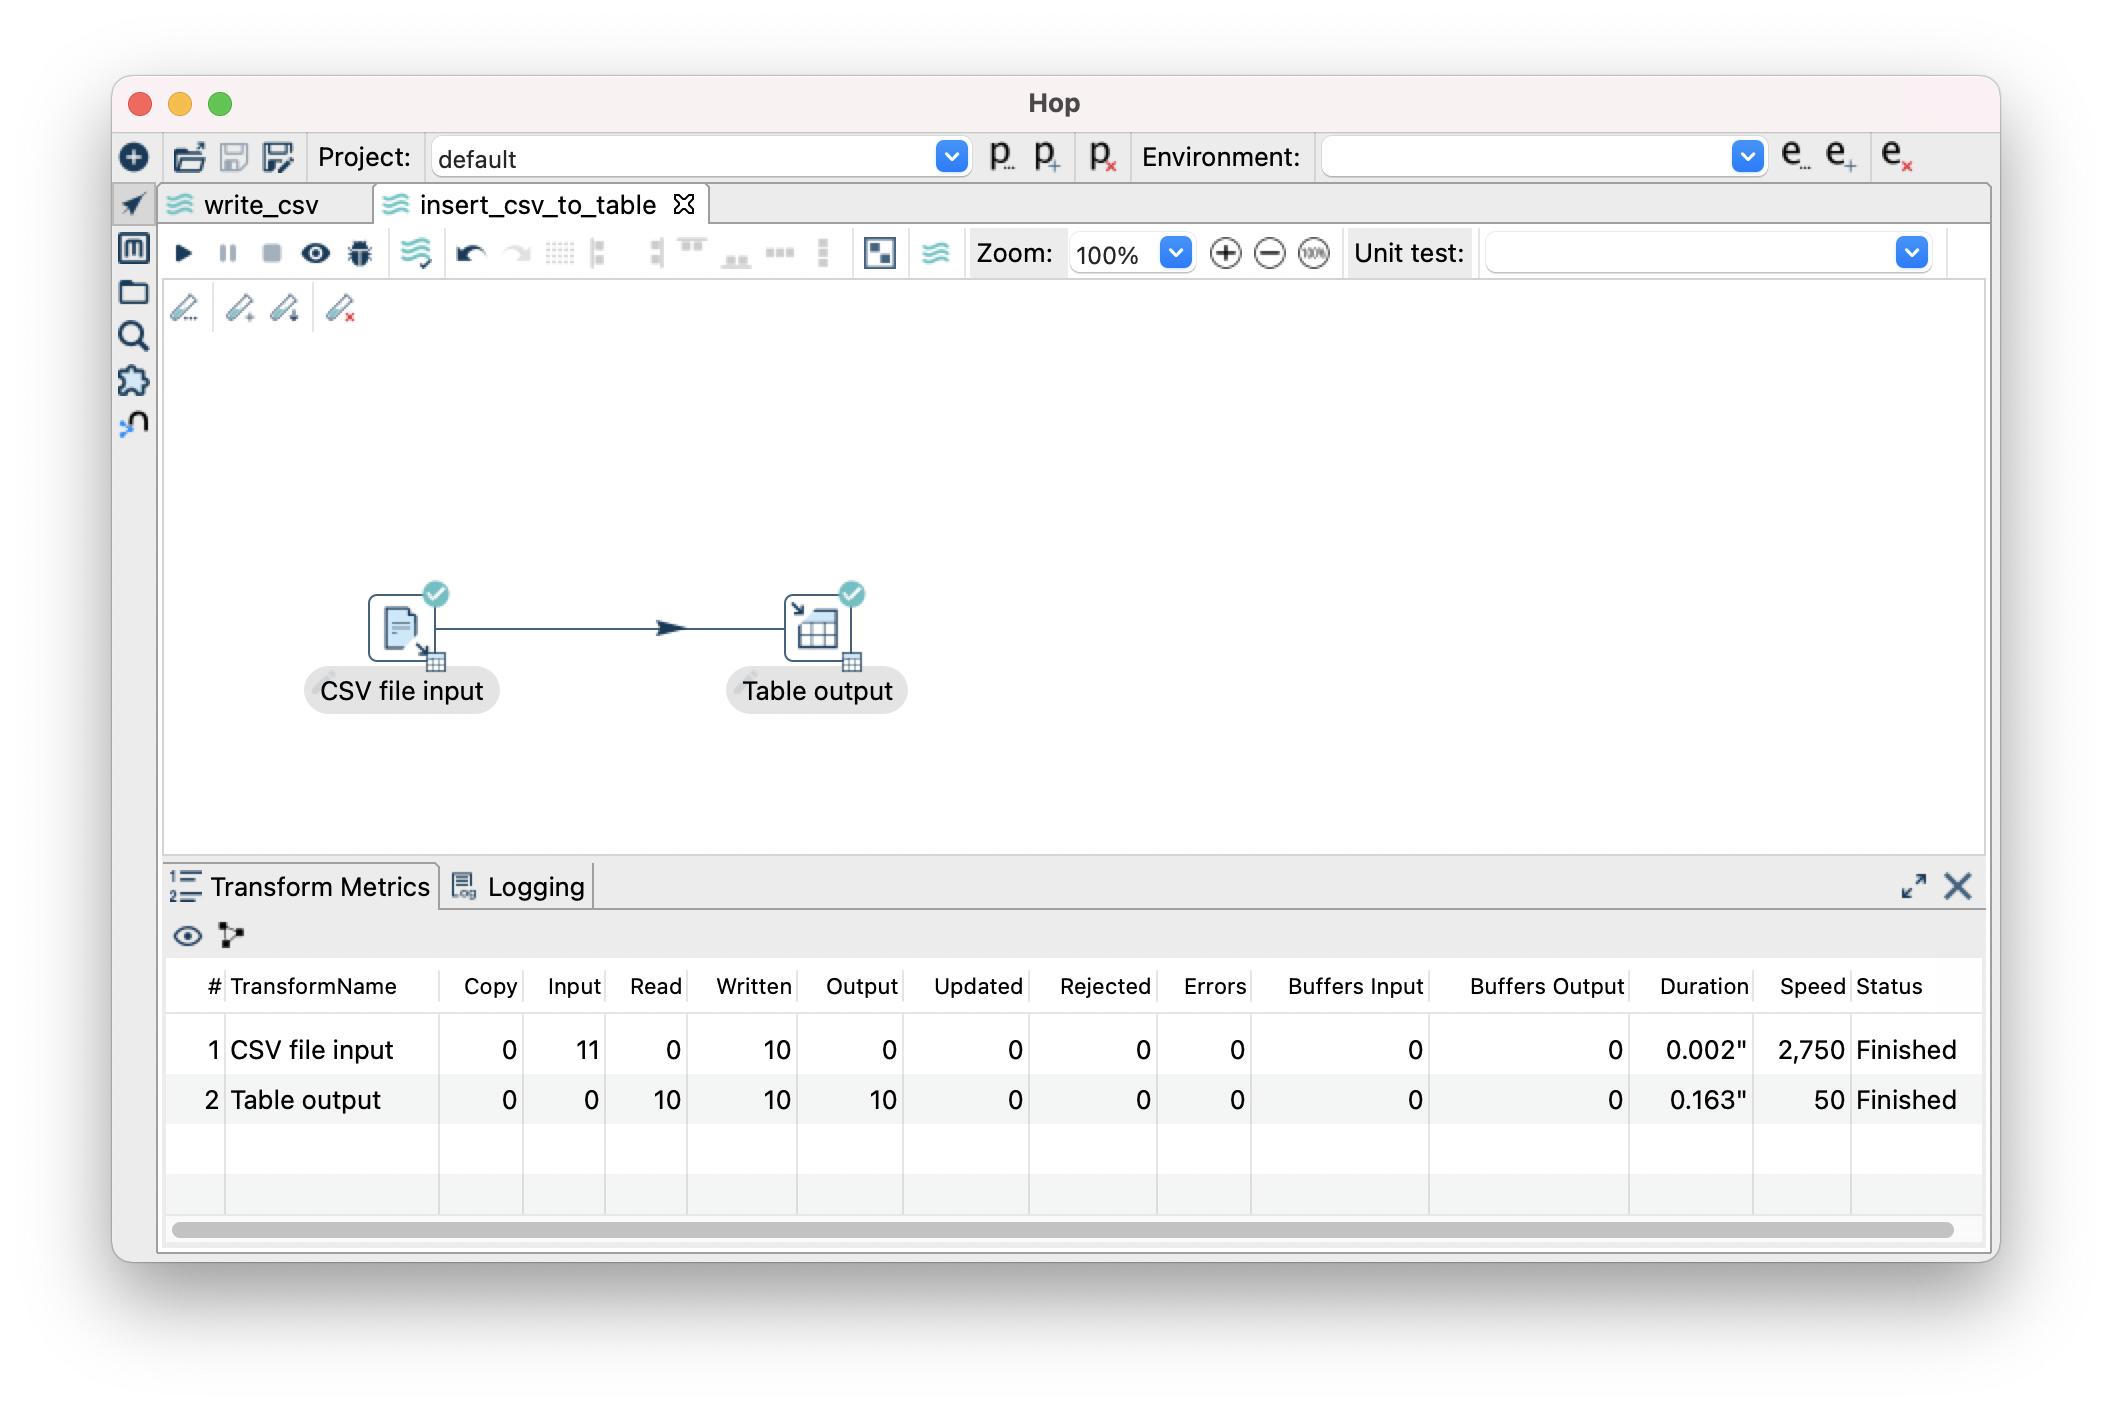
- Success! We have written our CSV to a table in CockroachDB.
Issues encountered
Multiple active portals when using Limit size
For table inputs, avoid putting the limit size. Otherwise you will receive an error where hop tries to use multiple portals, cockroach does not support this. Simply workaround this by adding a limit clause to the query.
Error shown by Hop
2021/09/29 10:25:02 - Table input.0 - Caused by: org.apache.hop.core.exception.HopDatabaseException:
2021/09/29 10:25:02 - Table input.0 - Error determining value metadata from SQL resultset metadata
2021/09/29 10:25:02 - Table input.0 - ERROR: unimplemented: multiple active portals not supported
2021/09/29 10:25:02 - Table input.0 -   Hint: You have attempted to use a feature that is not yet implemented.
2021/09/29 10:25:02 - Table input.0 - See: https://go.crdb.dev/issue-v/40195/v21.1
Workaround:
SELECT * FROM movr.rides limit 10;
Conclusion
I hope this tutorial was enough for you to get started on development with Apache Hop (Incubating) paired with CockroachDB. Its very easy to develop pipelines with Hop and I’ll be developing a series on this subject, so look out for my next article. Thanks for reading!
